We are extremely pleased to announce that the preview release of the Red Hat OpenShift Connector for JetBrains products (IntelliJ IDEA, WebStorm,….) is now available. You can download the OpenShift Connector plugin from the JetBrains marketplace or install it directly from the plugins gallery in JetBrains products.
This article provides describes the features and benefits of the plugin and provides installation details. It also provides a demo of how using the plugin improves the end-to-end experience of developing and deploying Spring Boot applications to your OpenShift cluster.
Benefits of using the extension
Red Hat OpenShift is a container application platform that brings the power of Kubernetes and containers to the enterprise. Regardless of the applications architecture, OpenShift lets you easily and quickly build, develop, and deploy in nearly any infrastructure, public or private.
Therefore, whether it’s on-premises, in a public cloud, or hosted, you have an award-winning platform to get your next big idea to market ahead of your competition.
Using OpenShift Connector, you can interact with any Red Hat OpenShift including a local instance of OpenShift clusters such as minishift/Red Hat Container Development Kit. Leveraging the OpenShift Application Explorer view, you can improve the end-to-end experience of developing applications.
The plugin enables you to perform all this directly using JetBrains products (IntelliJ IDEA, WebStorm,….) on Windows, Linux and macOS platforms and removes the complexity of memorizing some fairly complicated CLI commands.
Once the OpenShift Connector is installed, a new panel, the OpenShift view, is enabled in the Explorer panel. Then, you can access the view and connect to a running OpenShift cluster to perform the required operations.
Demo
You can see a live demo of the plugin here:
Below are the steps to run the demonstration by yourself
Installation
First, you will need to install any JetBrains product (IntelliJ IDEA, WebStorm,….) 2018.1 or later.
To install the plugin, bring up the plugins configuration dialog: File → Settings → Plugins:
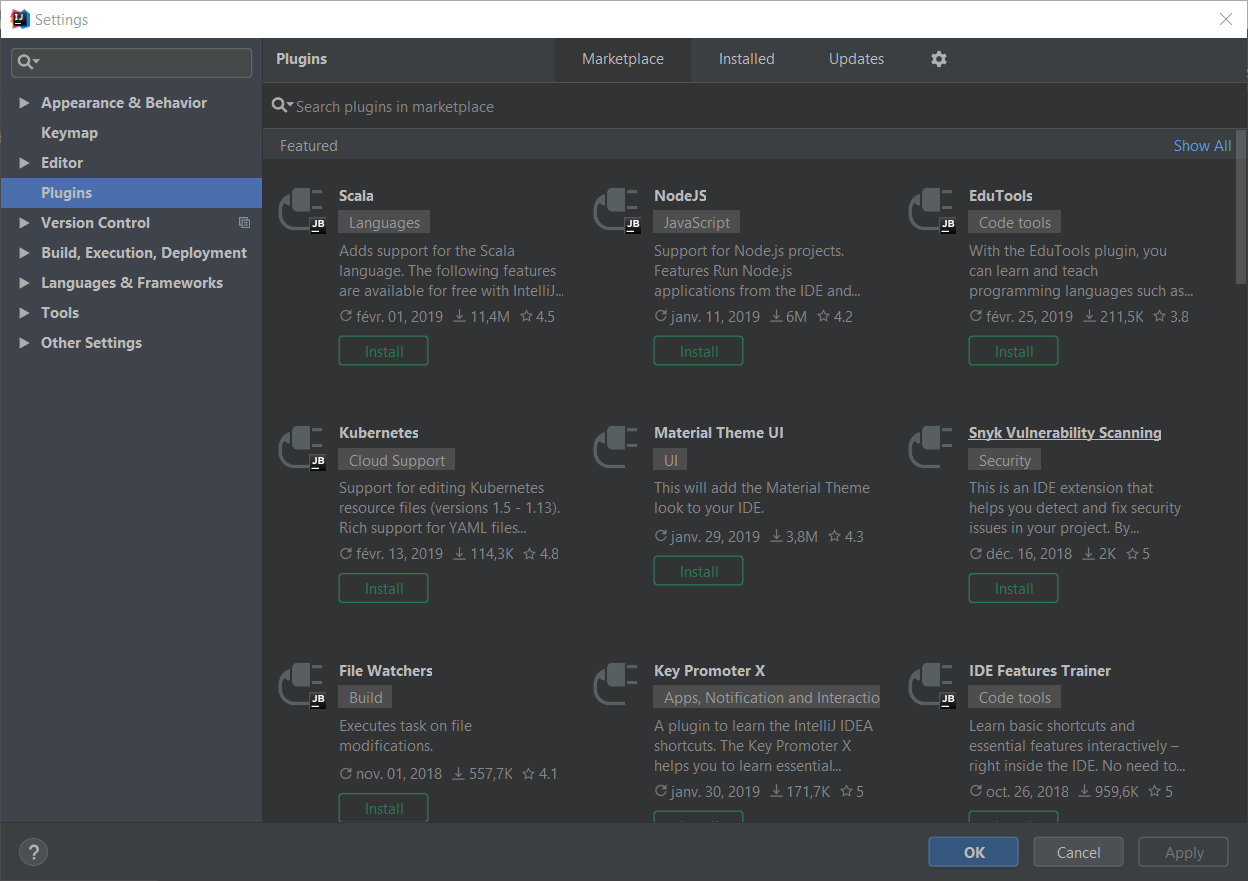
In the search bar, enter OpenShift and click on the OpenShift Connector by Red Hat item:
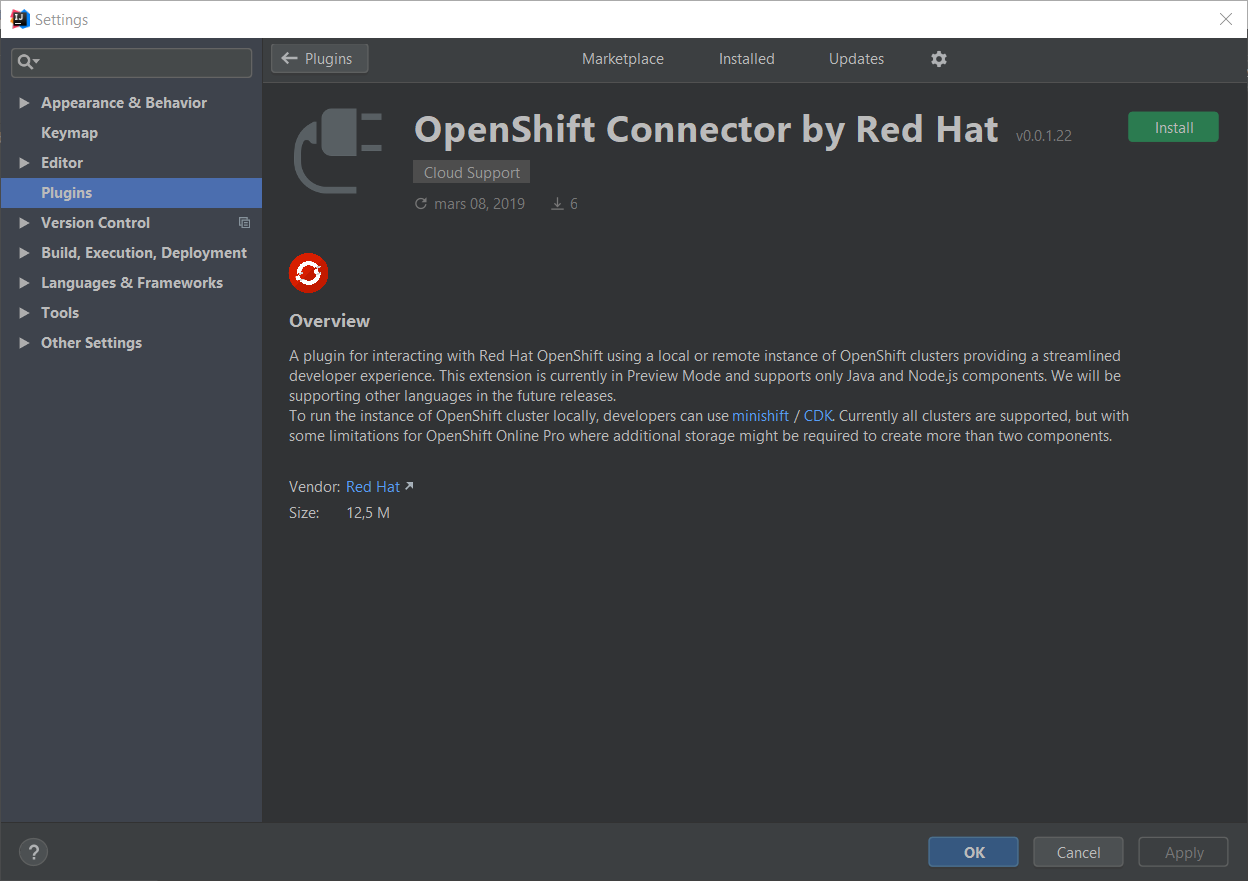
Click the Install button:
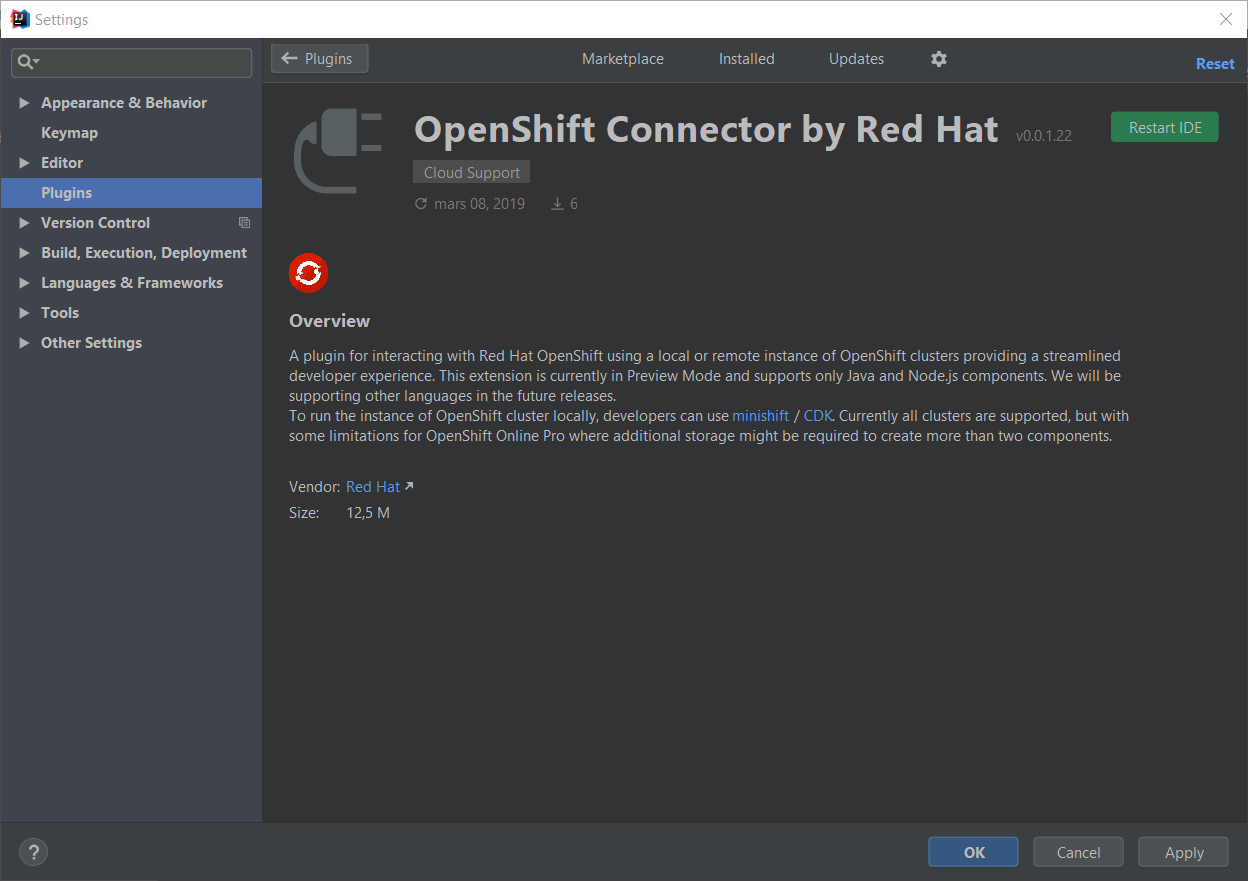
Once the plugin has been downloaded, click the Restart IDE button.
Once the IDE has been restarted, mouse over the Views icon in the bottom left area:
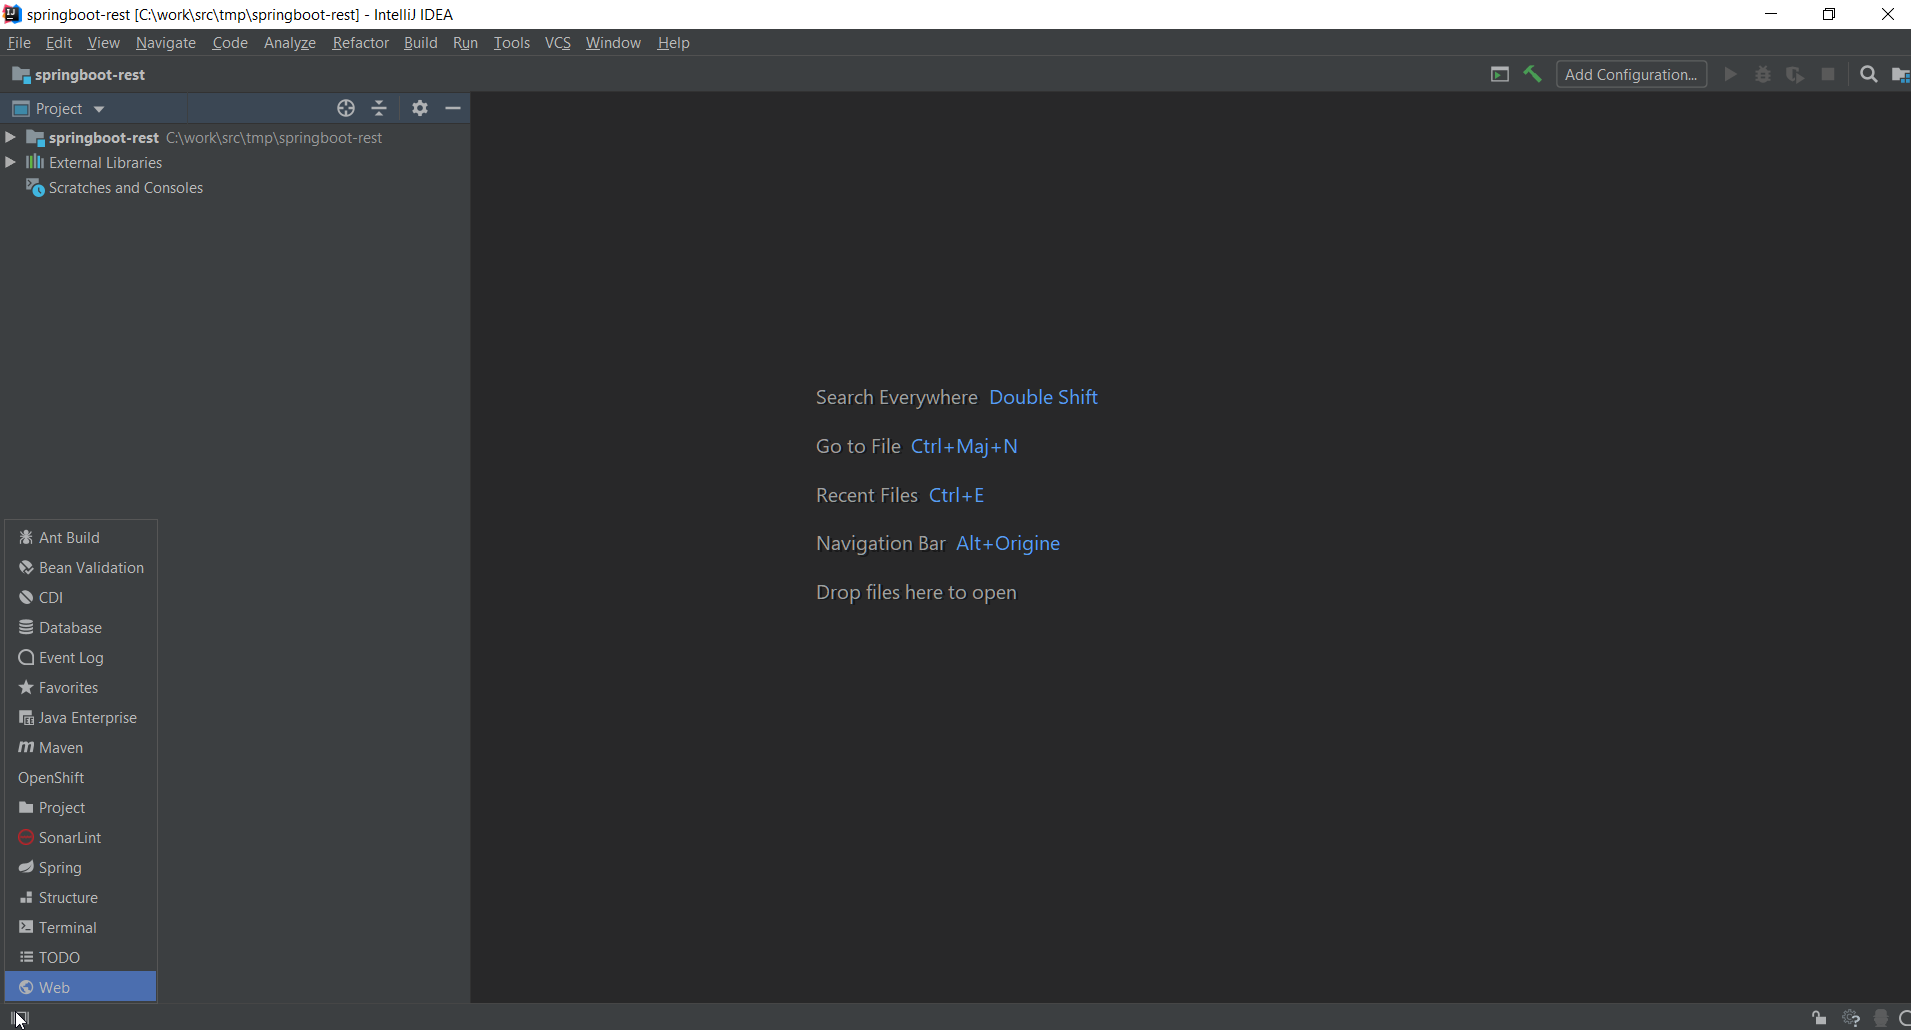
Select the OpenShift item:
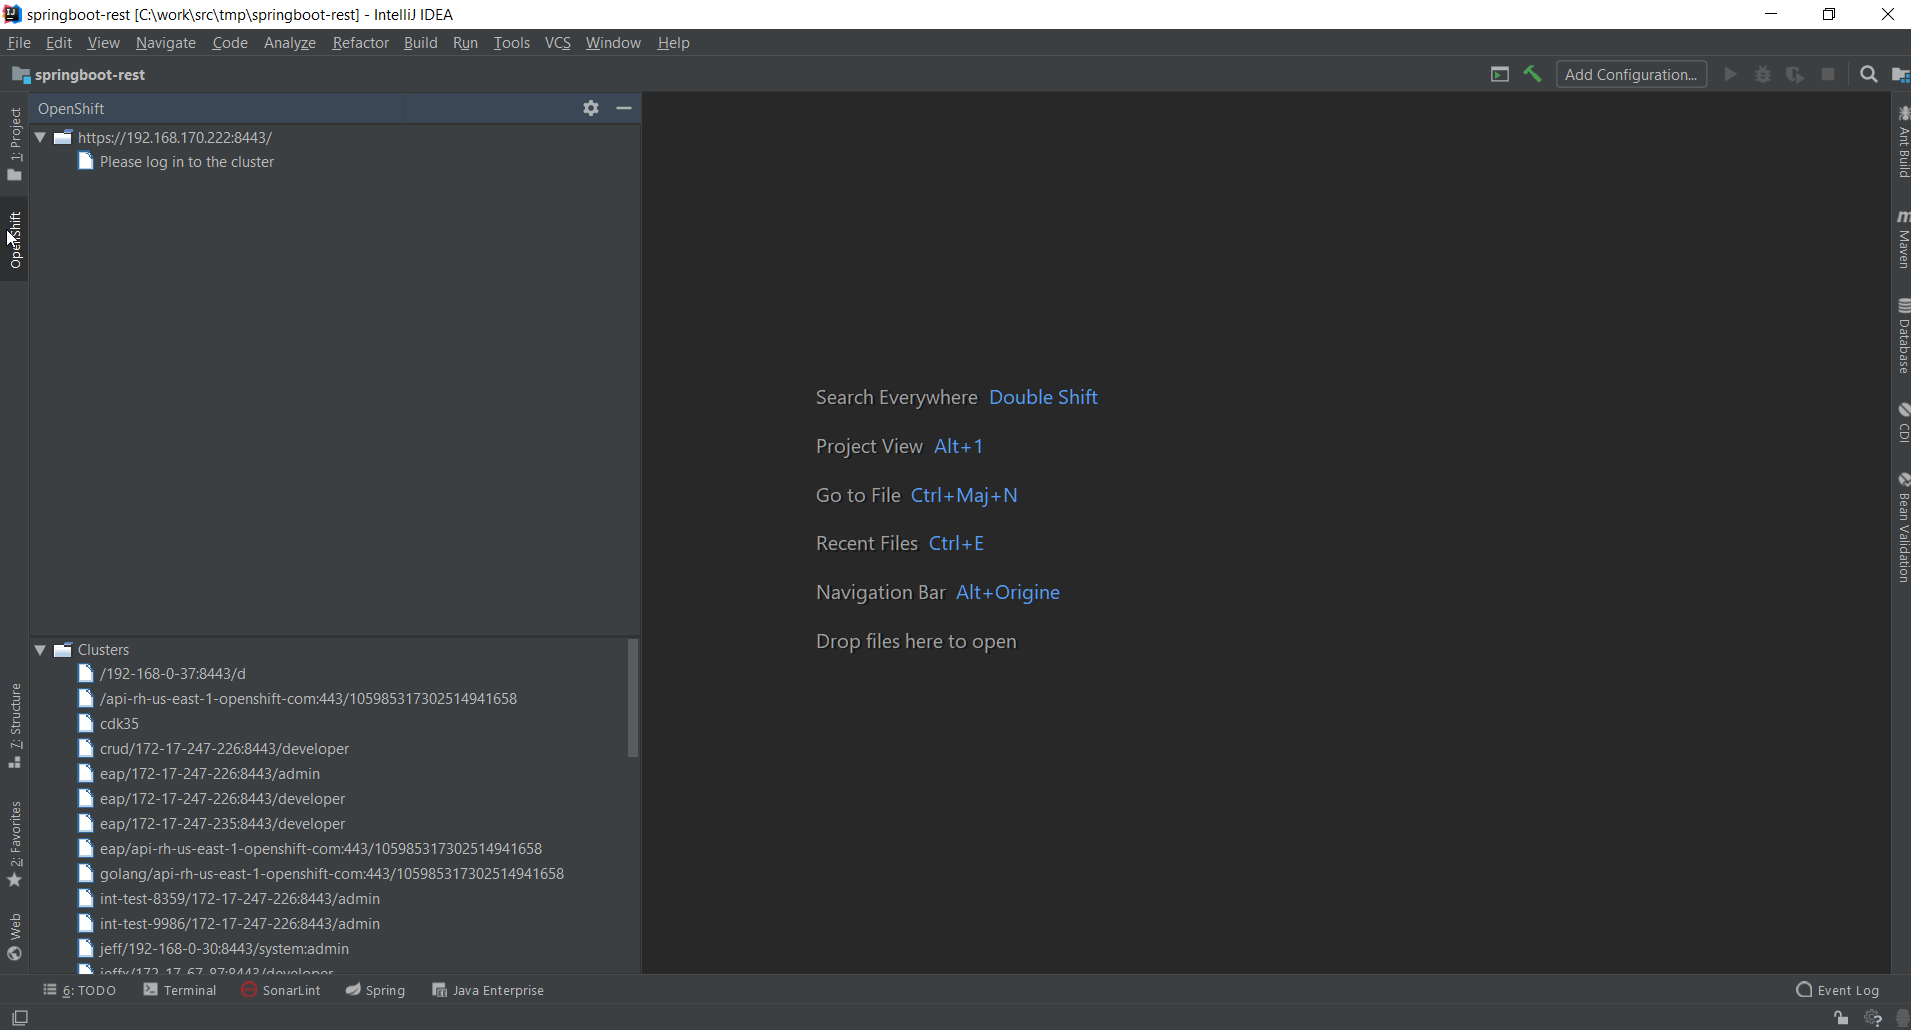
The plugin in action
Connecting to your OpenShift instance
-
If you’re working locally, start the local OpenShift instance using minishift/Red Hat Container Development Kit
-
You then need to log in to the running OpenShift cluster: right click on the cluster URL tree node and select
Log in to cluster.
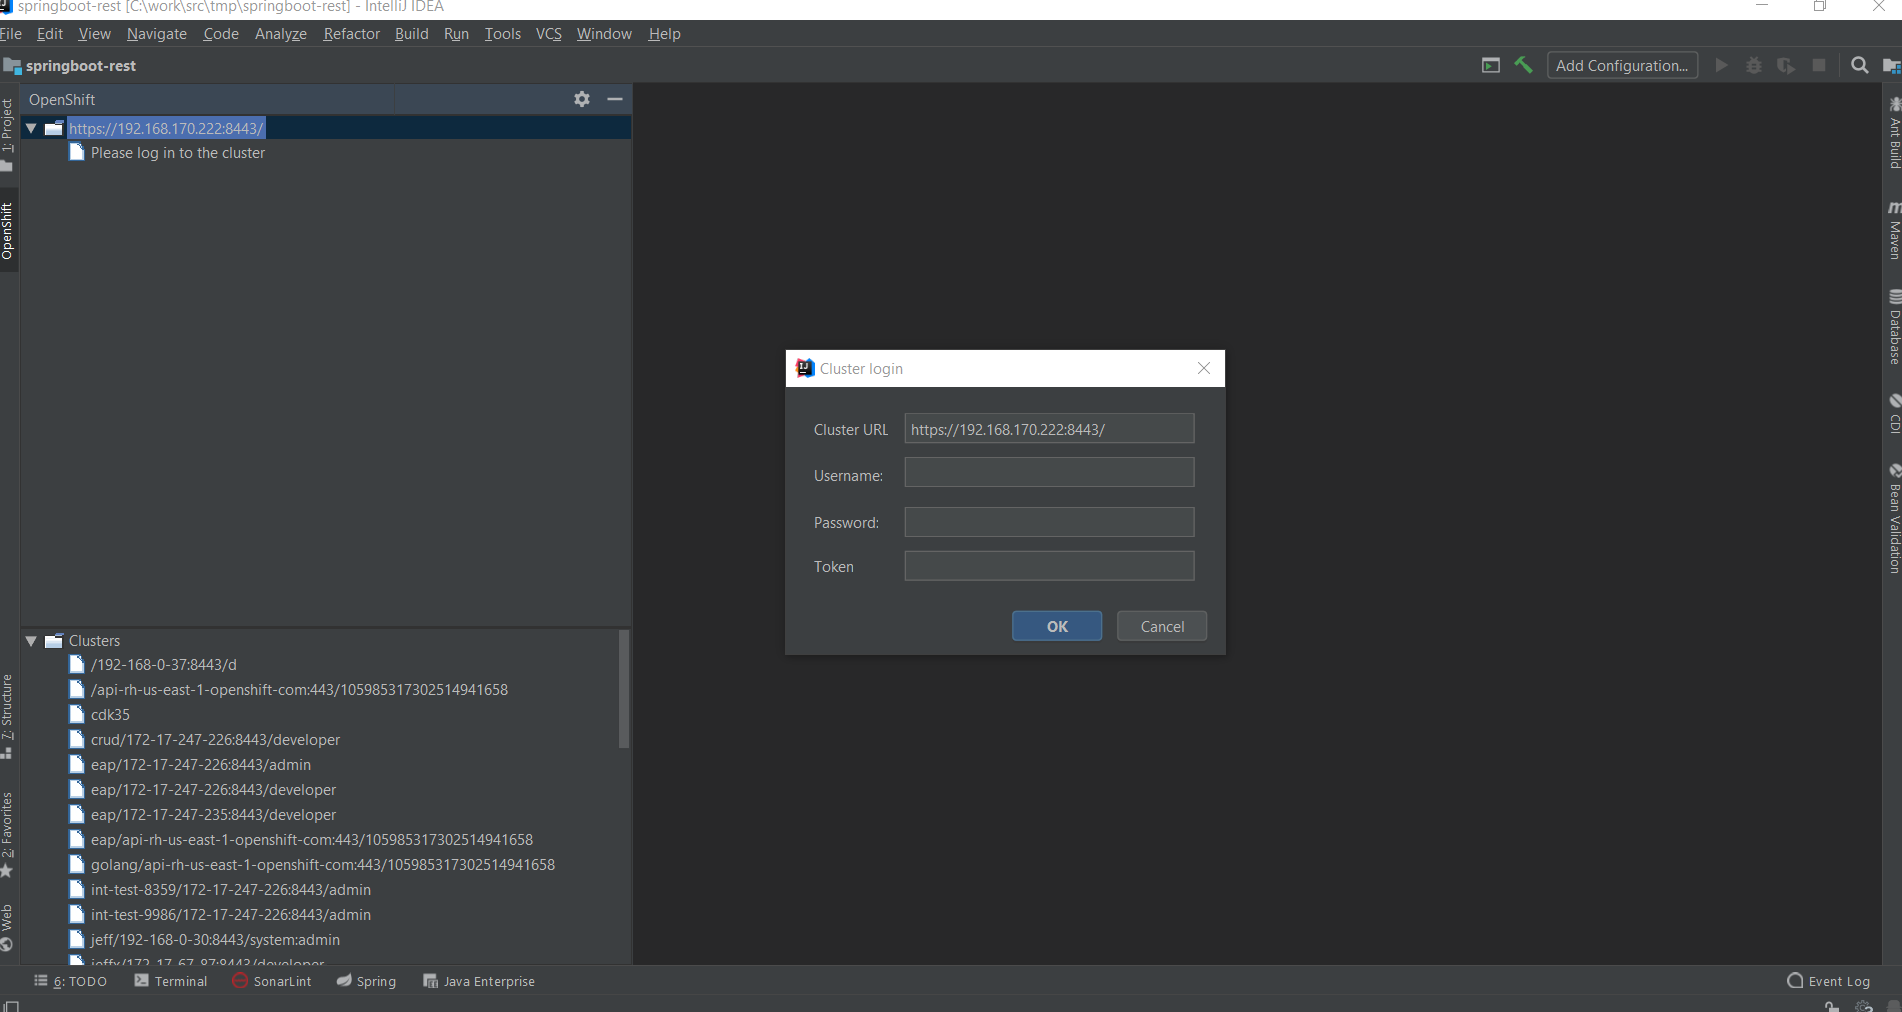
Enter developer in the Username field and any value in the Password field and press the OK button:
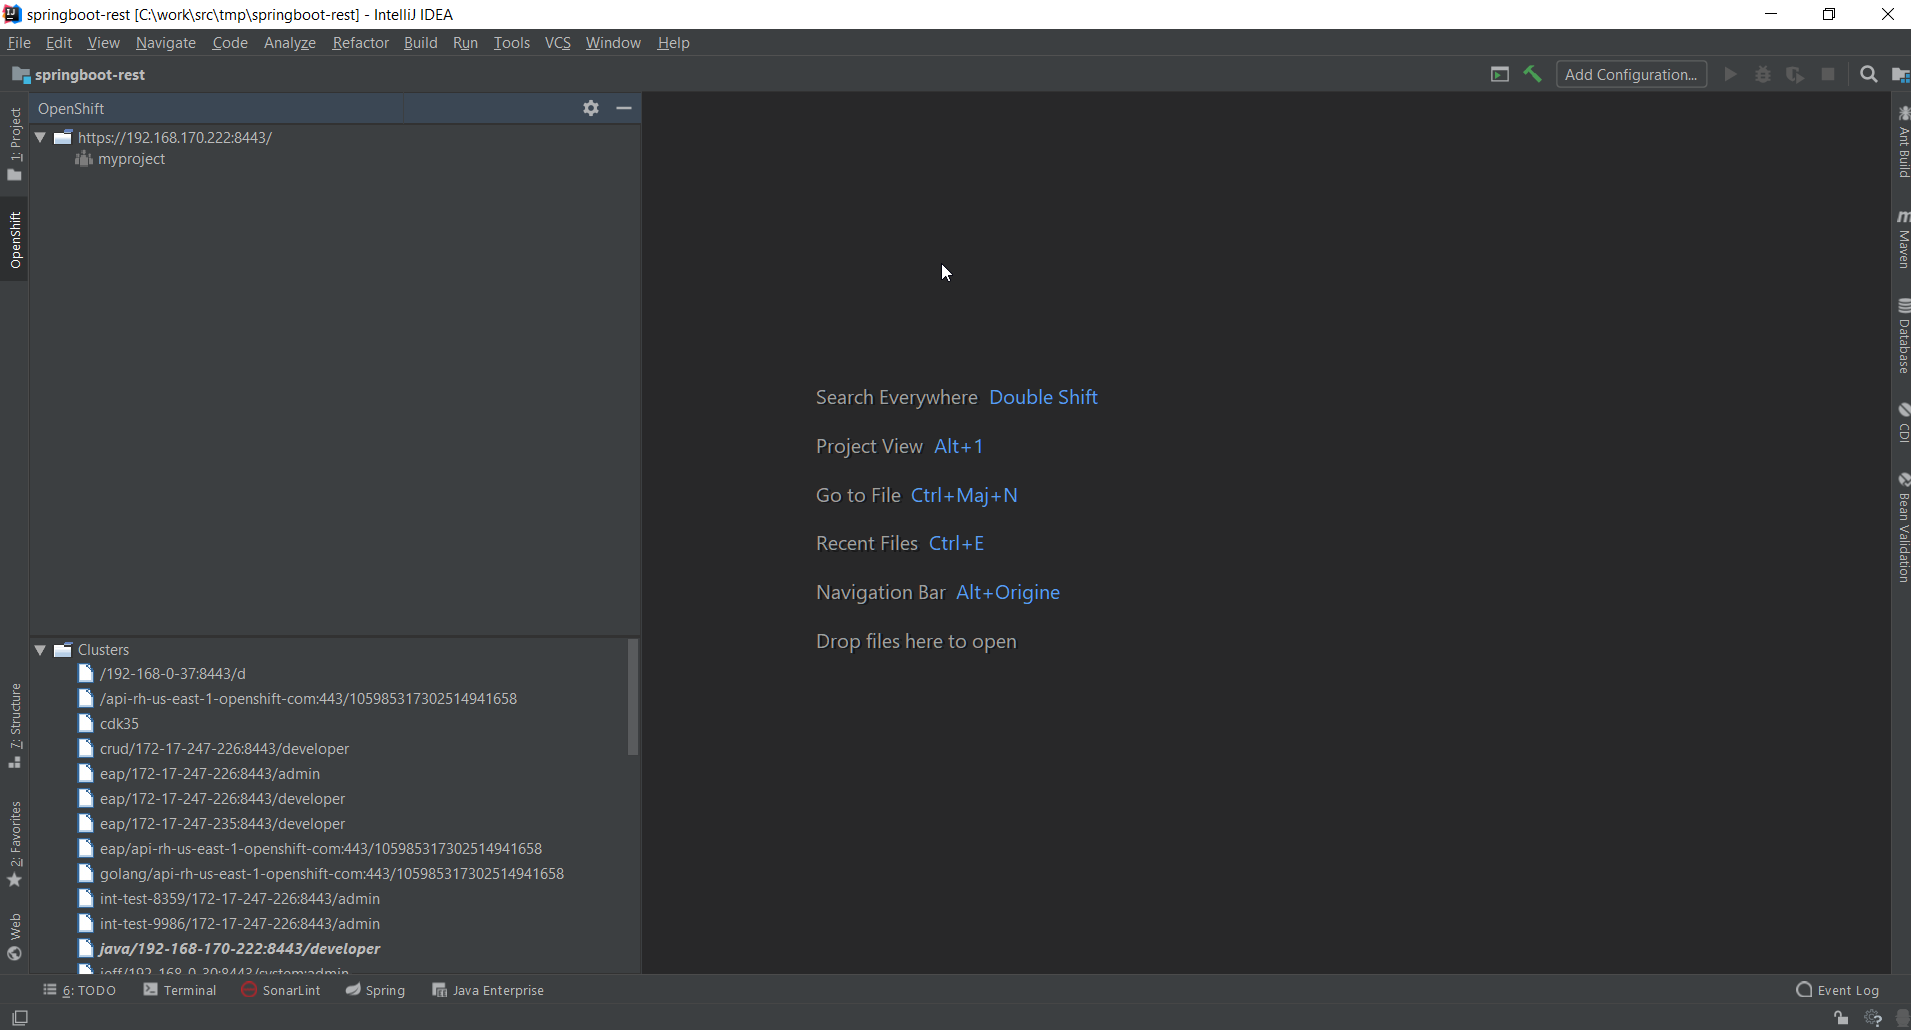
Import the project to be deployed
Before we work with our local cluster, first import our application source code. We will use a simple
Spring Boot application whose source code is located at https://github.com/openshift-evangelists/Wild-West-Backend.
In order to import the application, use the File → New → Project from Version Control → Git:
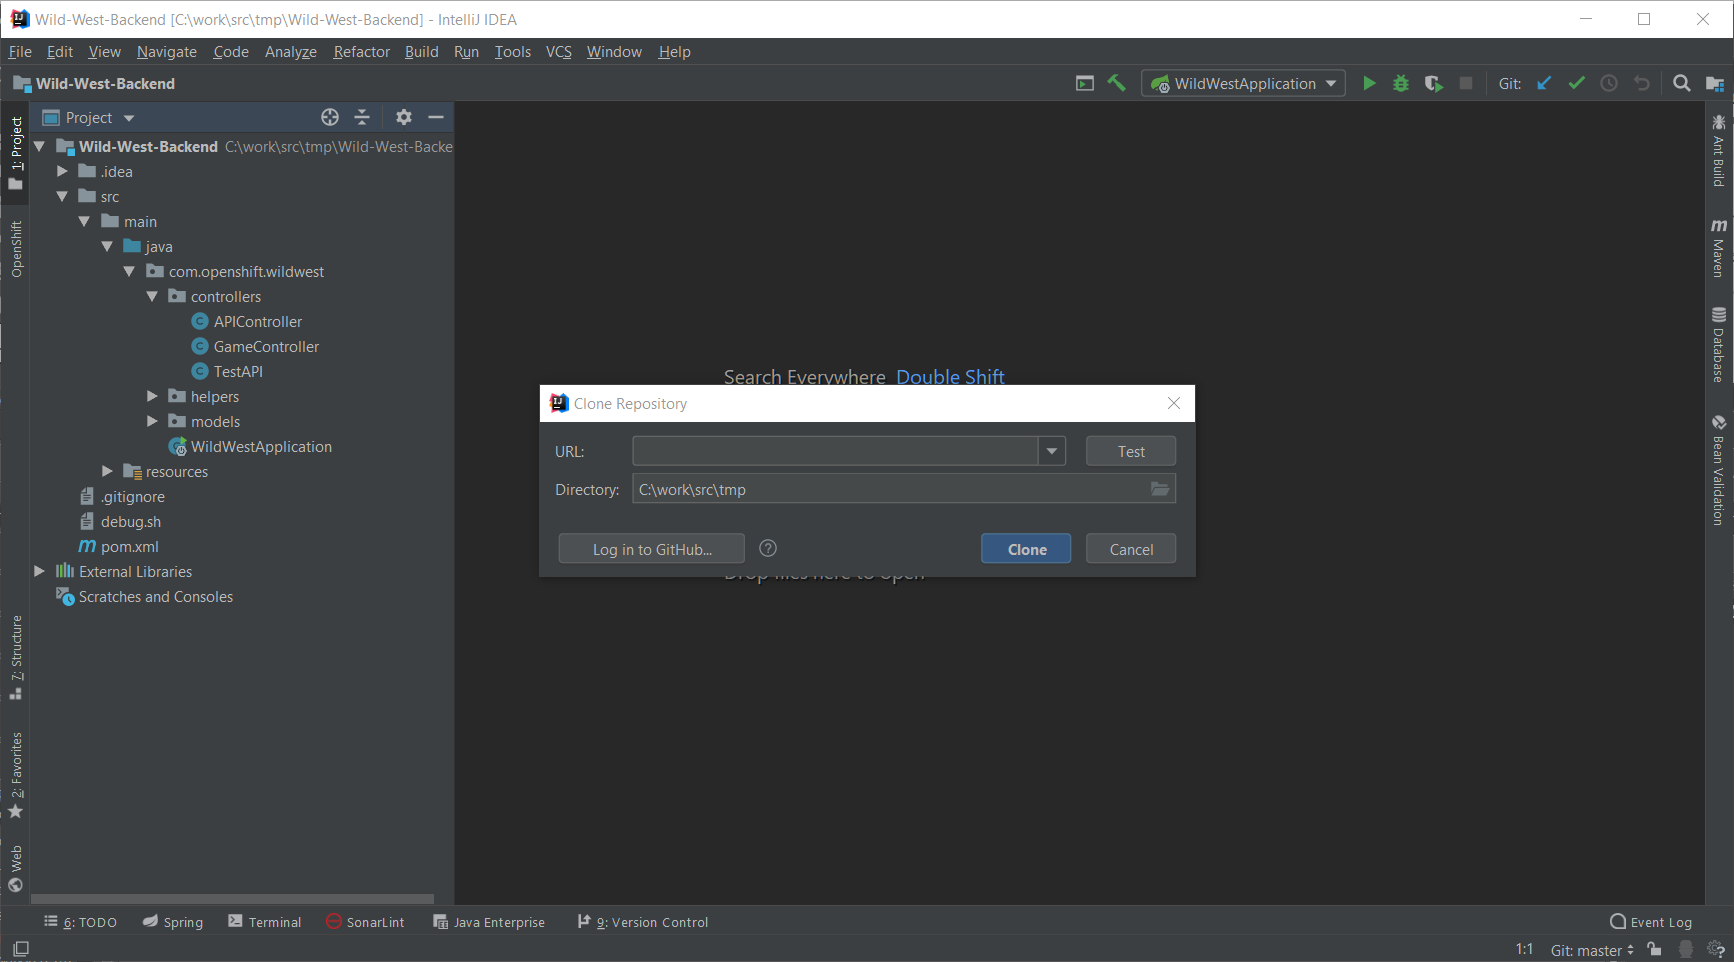
Enter https://github.com/openshift-evangelists/Wild-West-Backend in the URL field and press
the Clone button.
Create a project for the application
The application will be hosted in an OpenShift project (similar to Kubernetes namespaces). For more information about OpenShift projects, see the official documentation
In the OpenShift view, right click on the cluster node (the one with the URL) and select New Project:
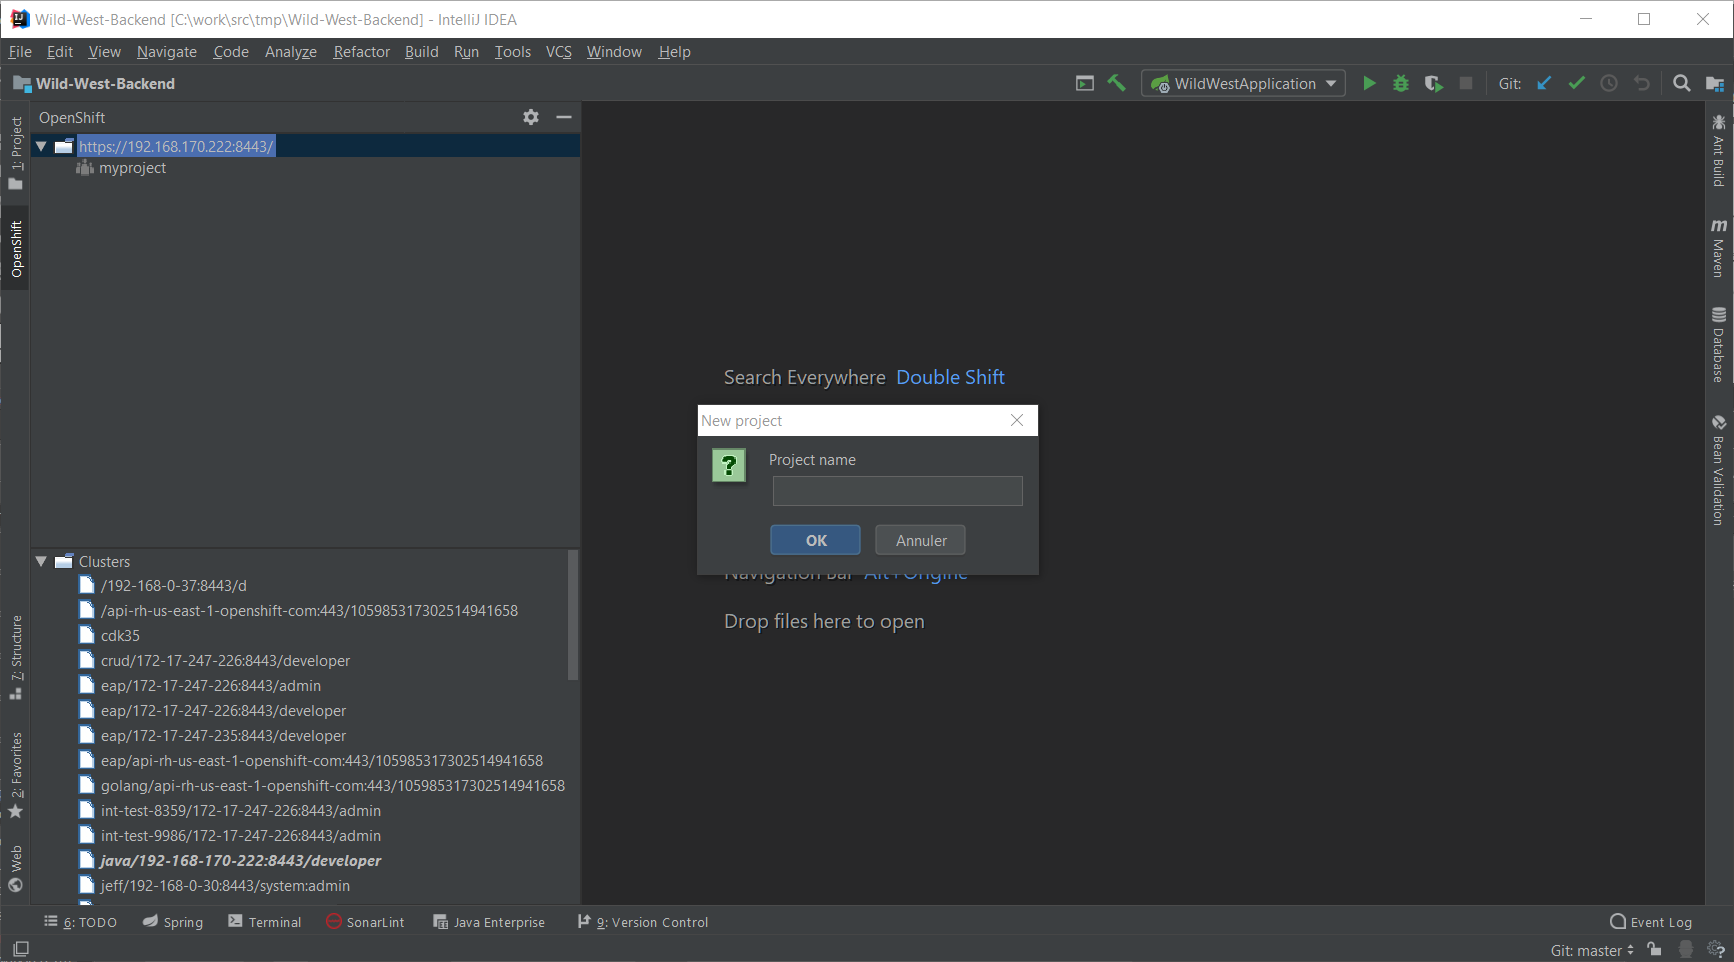
Enter spring-boot in the Project name and press the OK button:
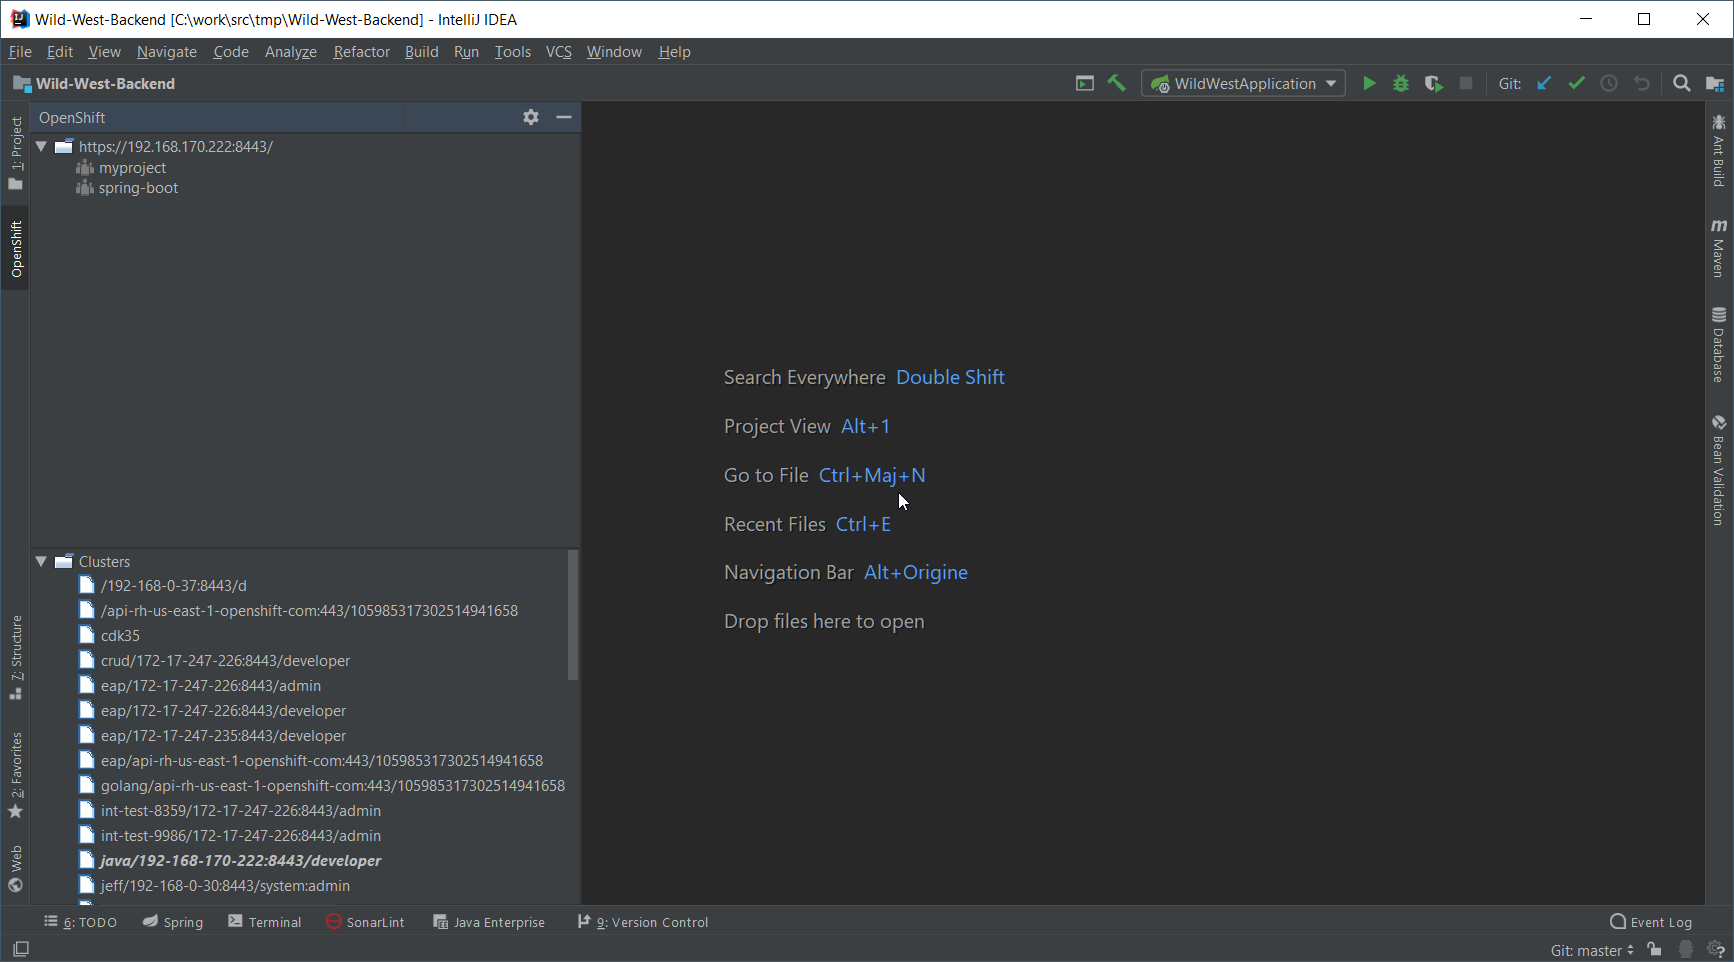
Create the application
In the spring-boot node, right click and select New Application:
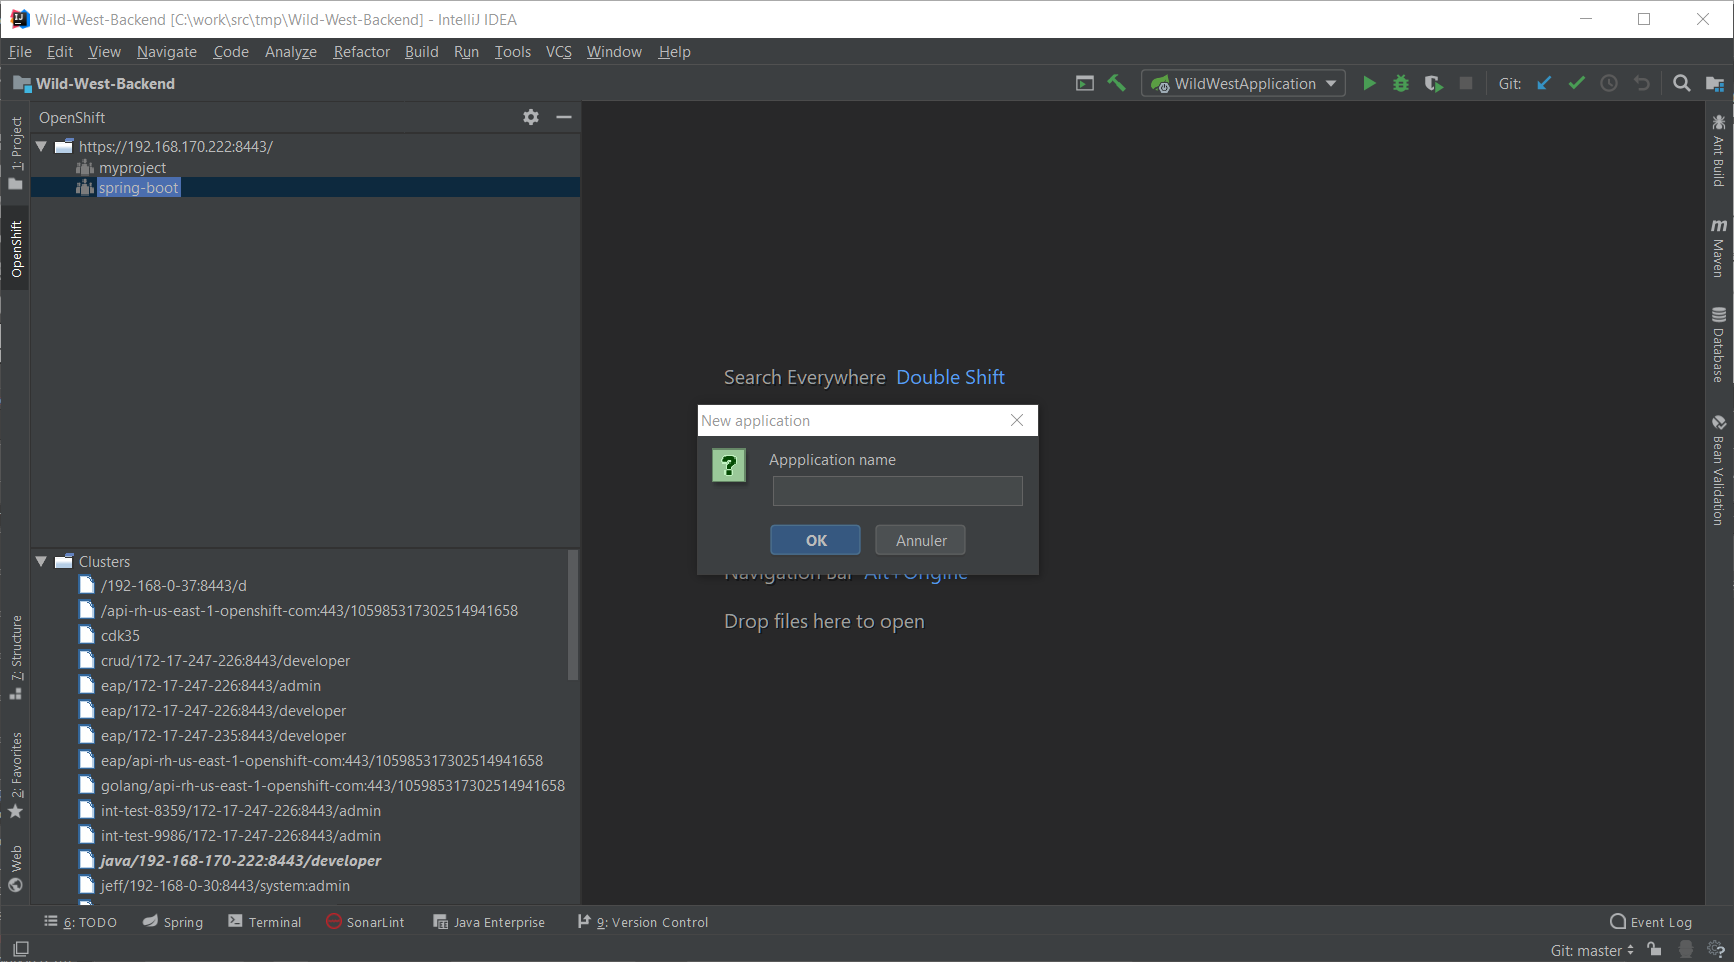
Enter springbootapp in the Application name field and press the OK button:
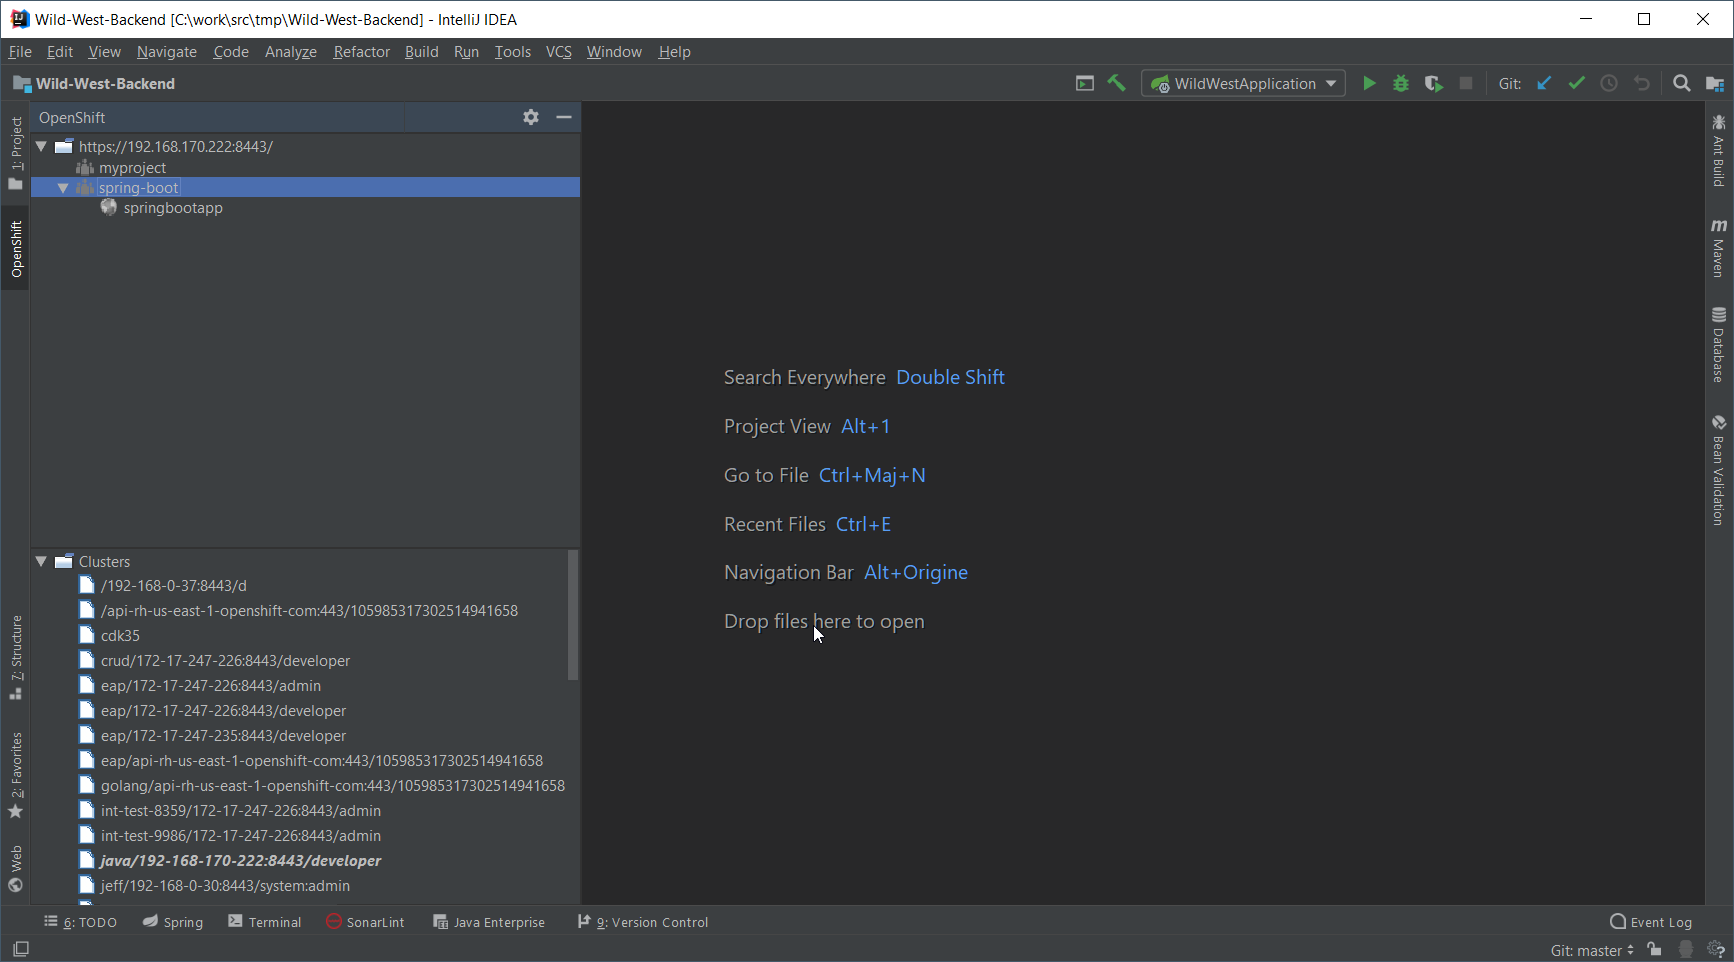
Deploy the component
In the springbootapp node, right click and select New Component:
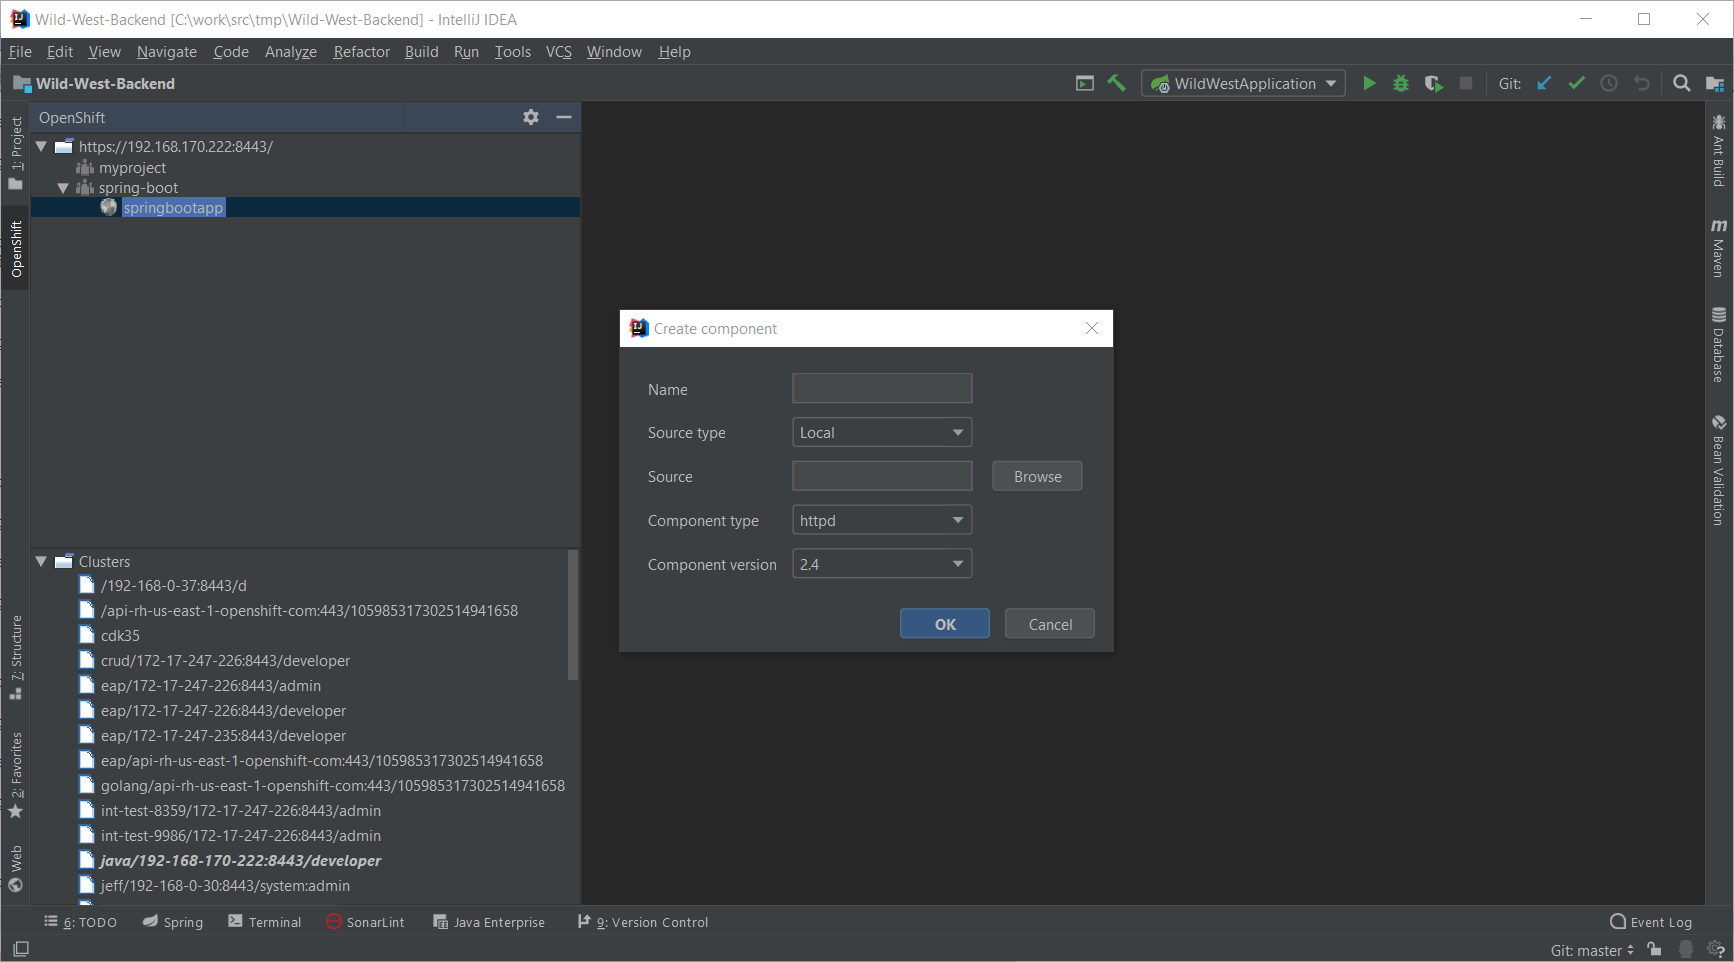
Enter backend in the Name field:
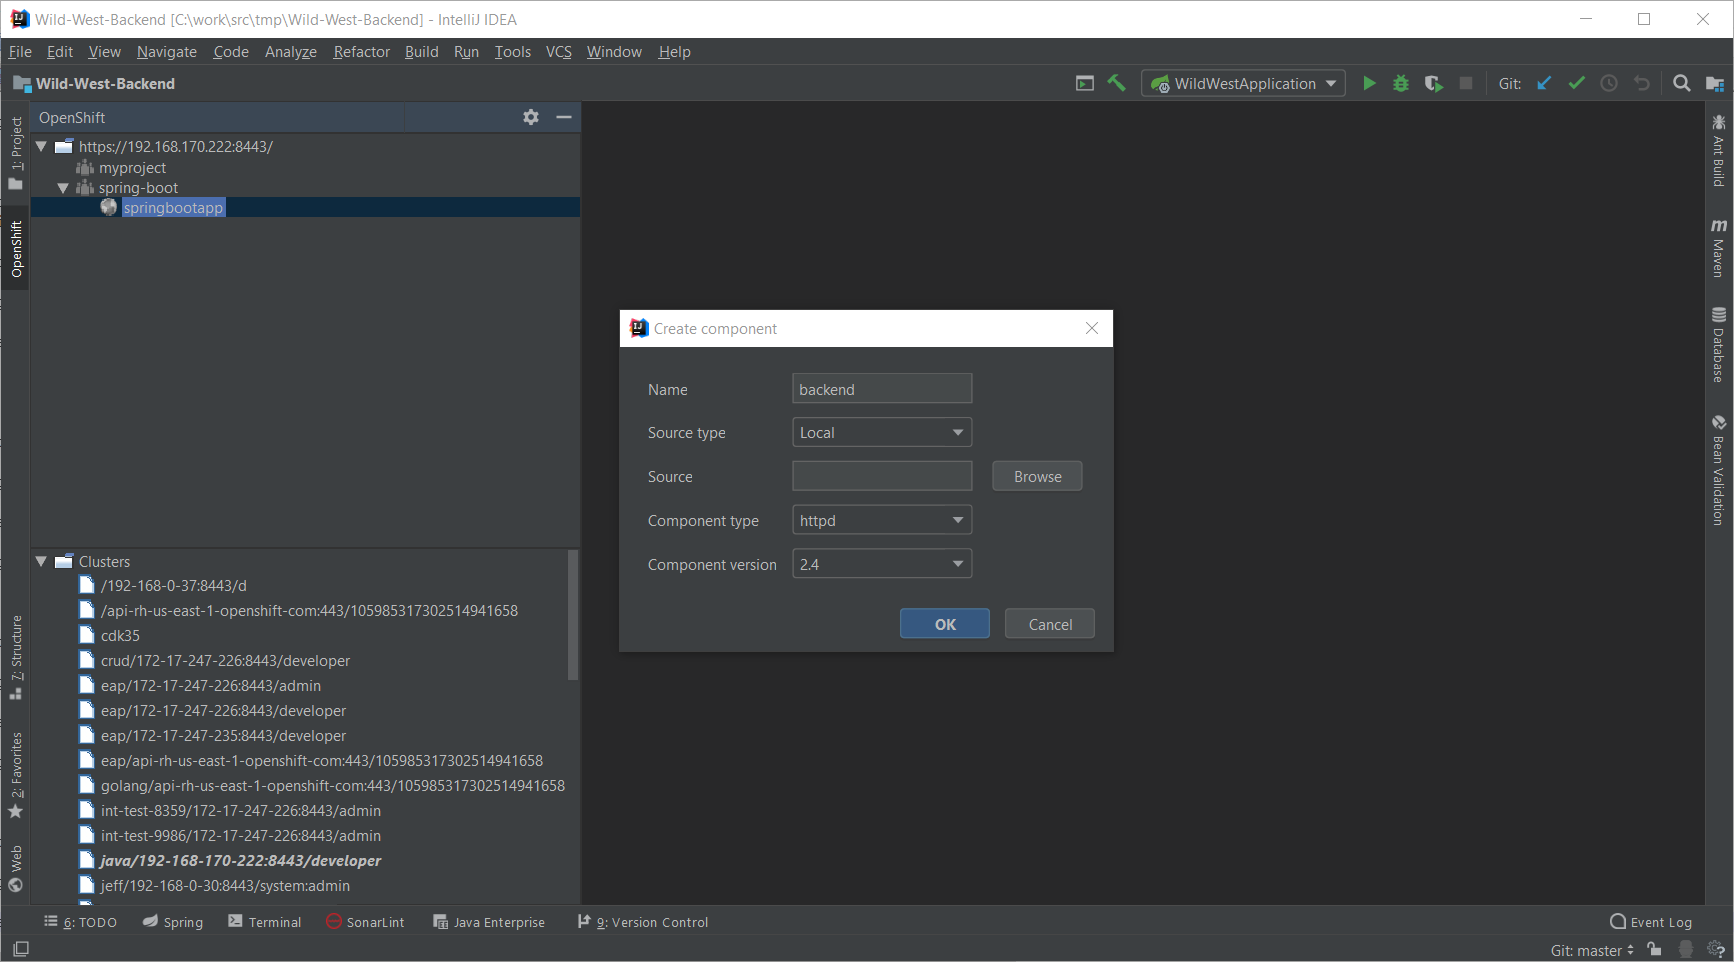
Press the Browse button:
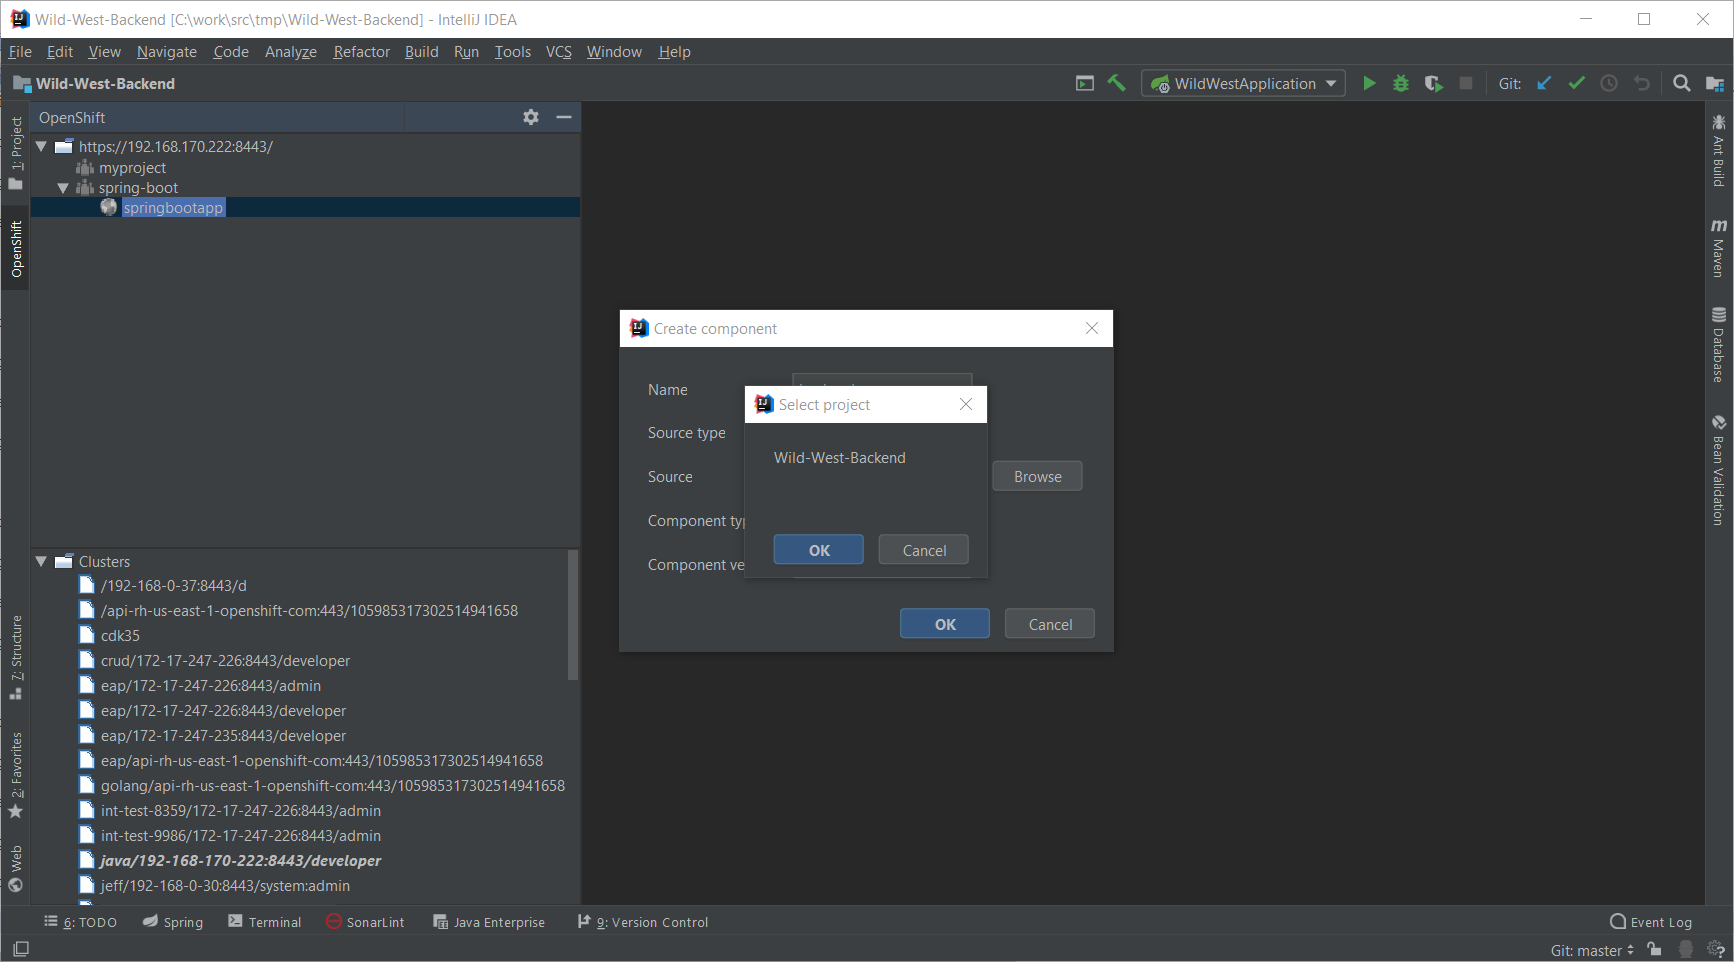
Select the Wild-West-Backend project and press the OK button:
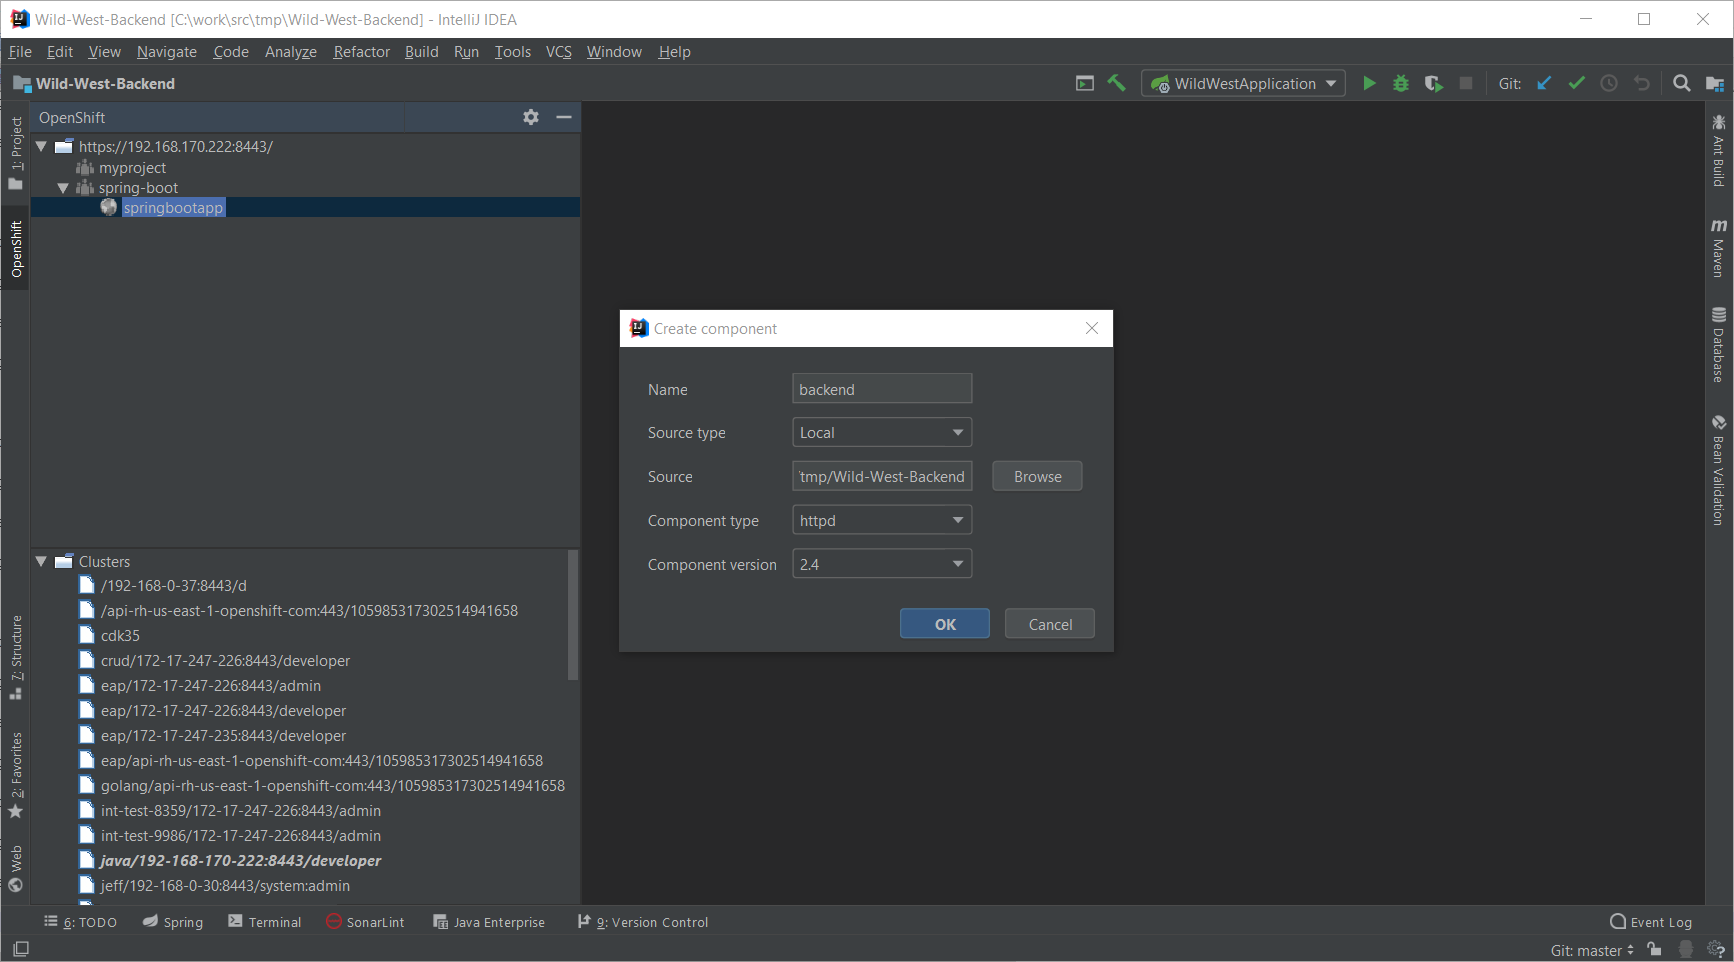
In the Component type field, select the java item:
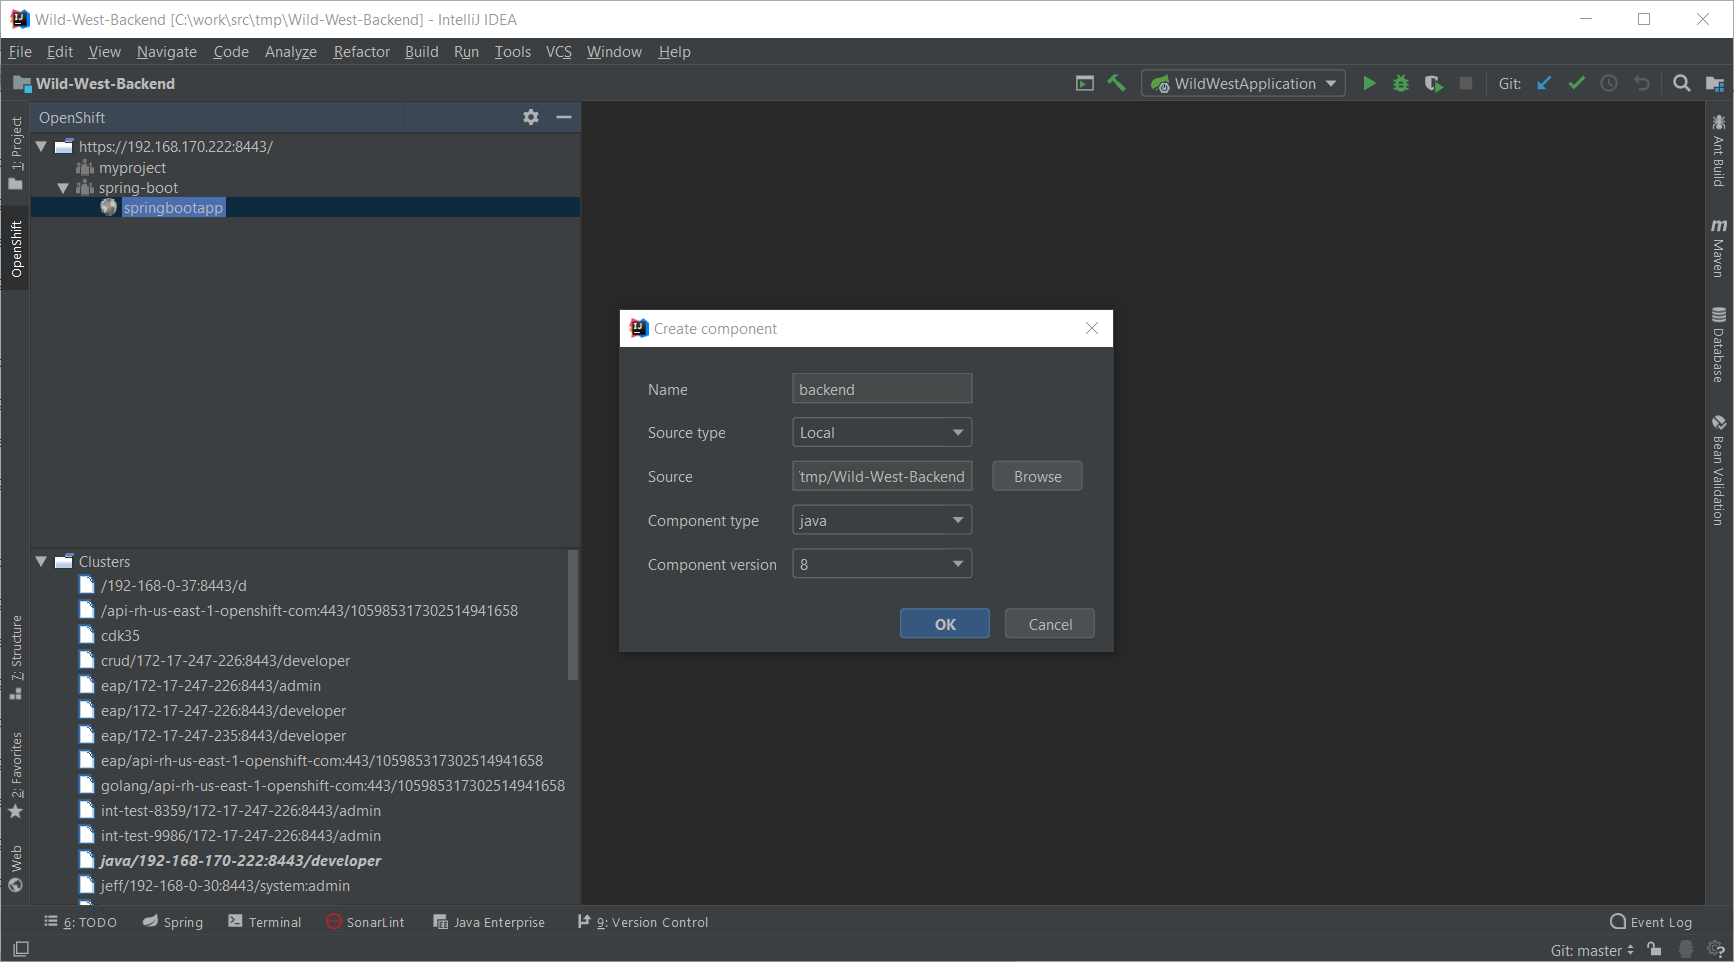
Press the OK button. A new terminal window will be displayed and the component
will be deployed to your local cluster.
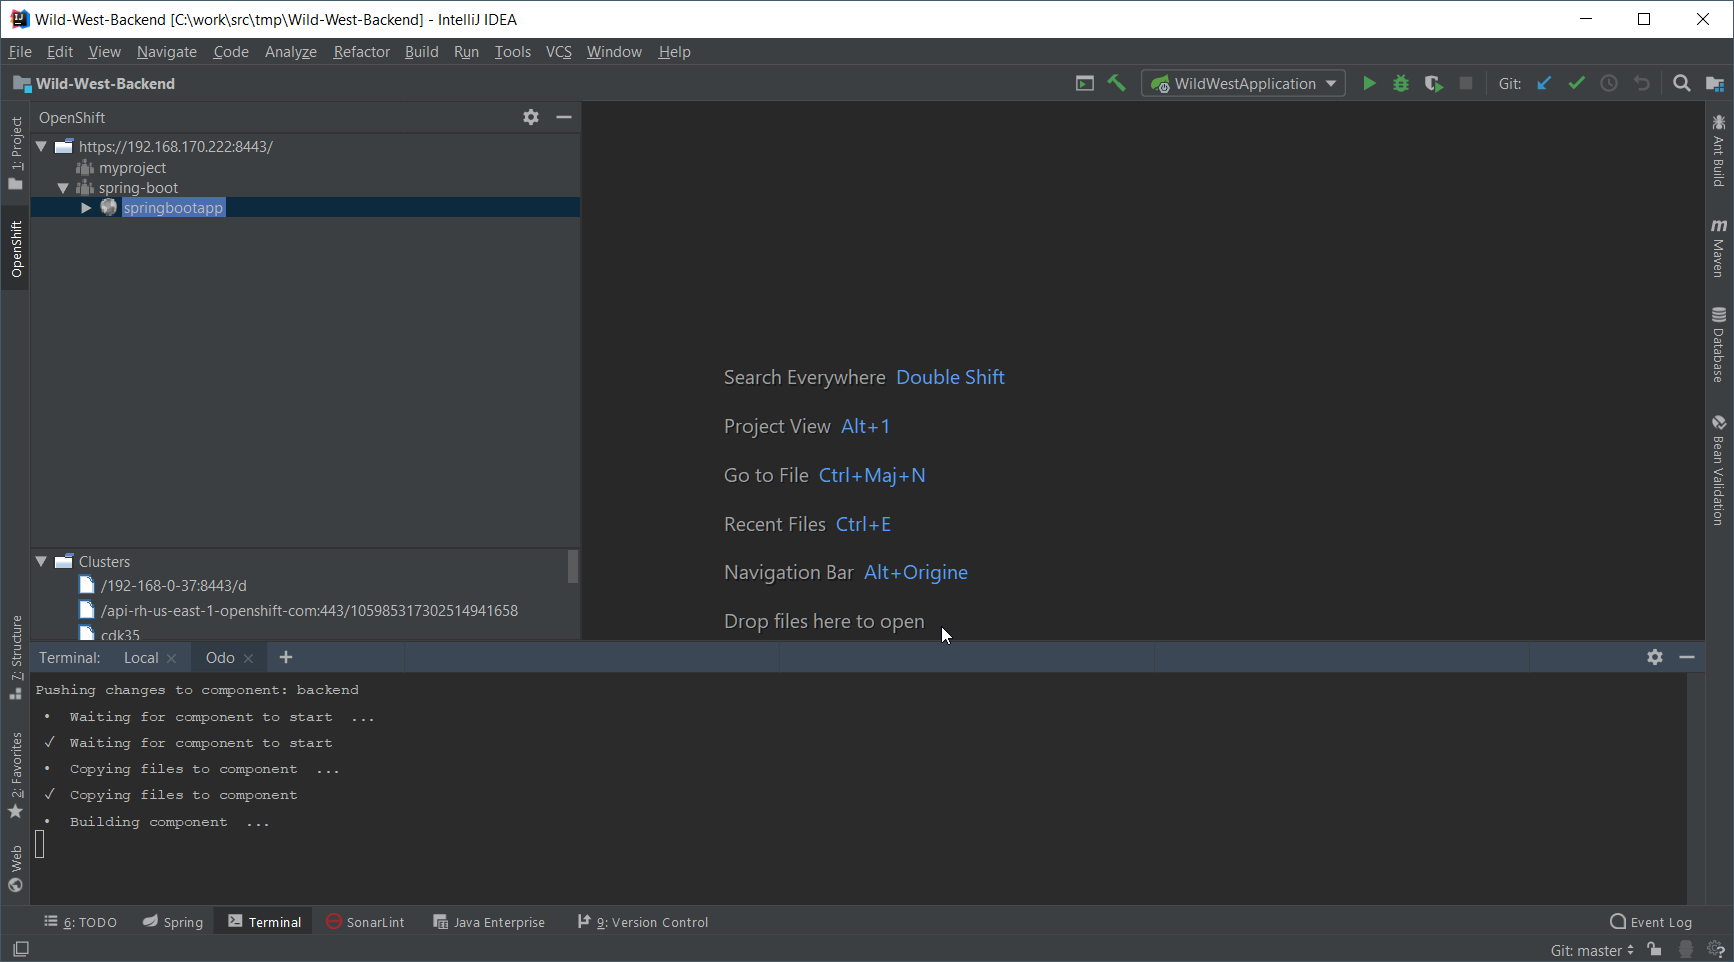
| On IntelliJ IDEA 2018.3 or 2018.3 based JetBrains products, the terminal window will be automatically closed when the underlying command process is terminated. We are working for a workaround but we recommend to use previous versions until the plugin will be updated. See the issue for more information |
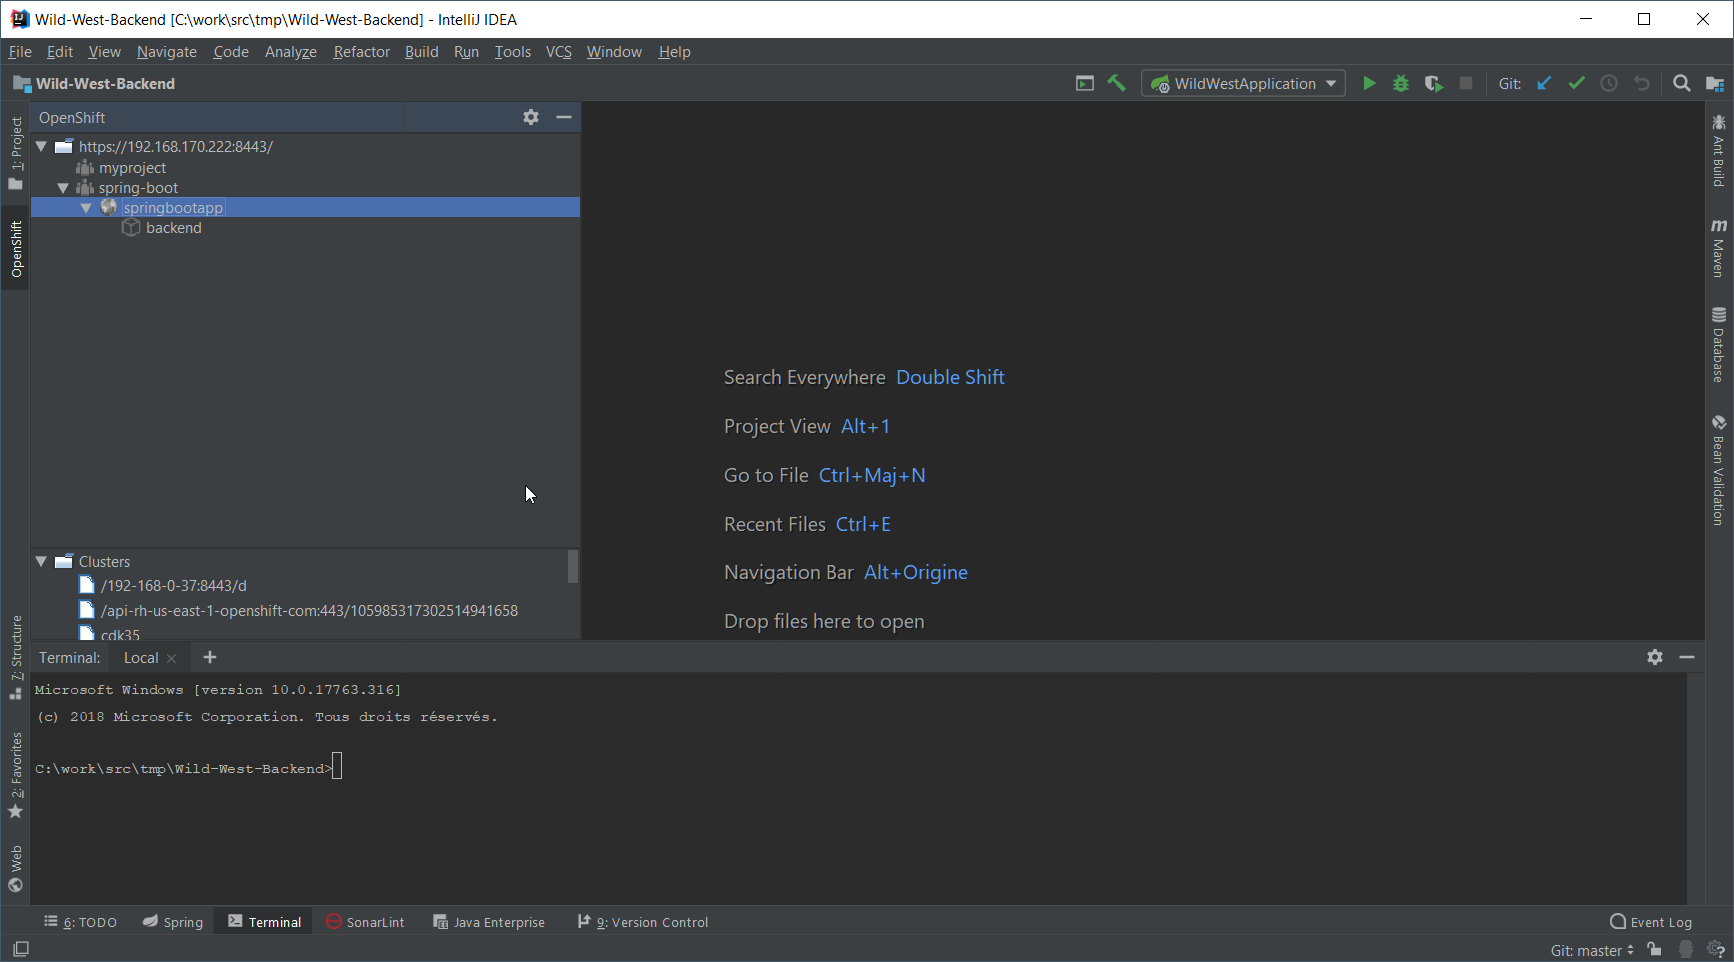
Once deployed, the component will appear in the OpenShift view:
Testing the component
Let’s try to test the deployed application in a browser. In the OpenShift view, right click
the backend node and select Open in Browser:
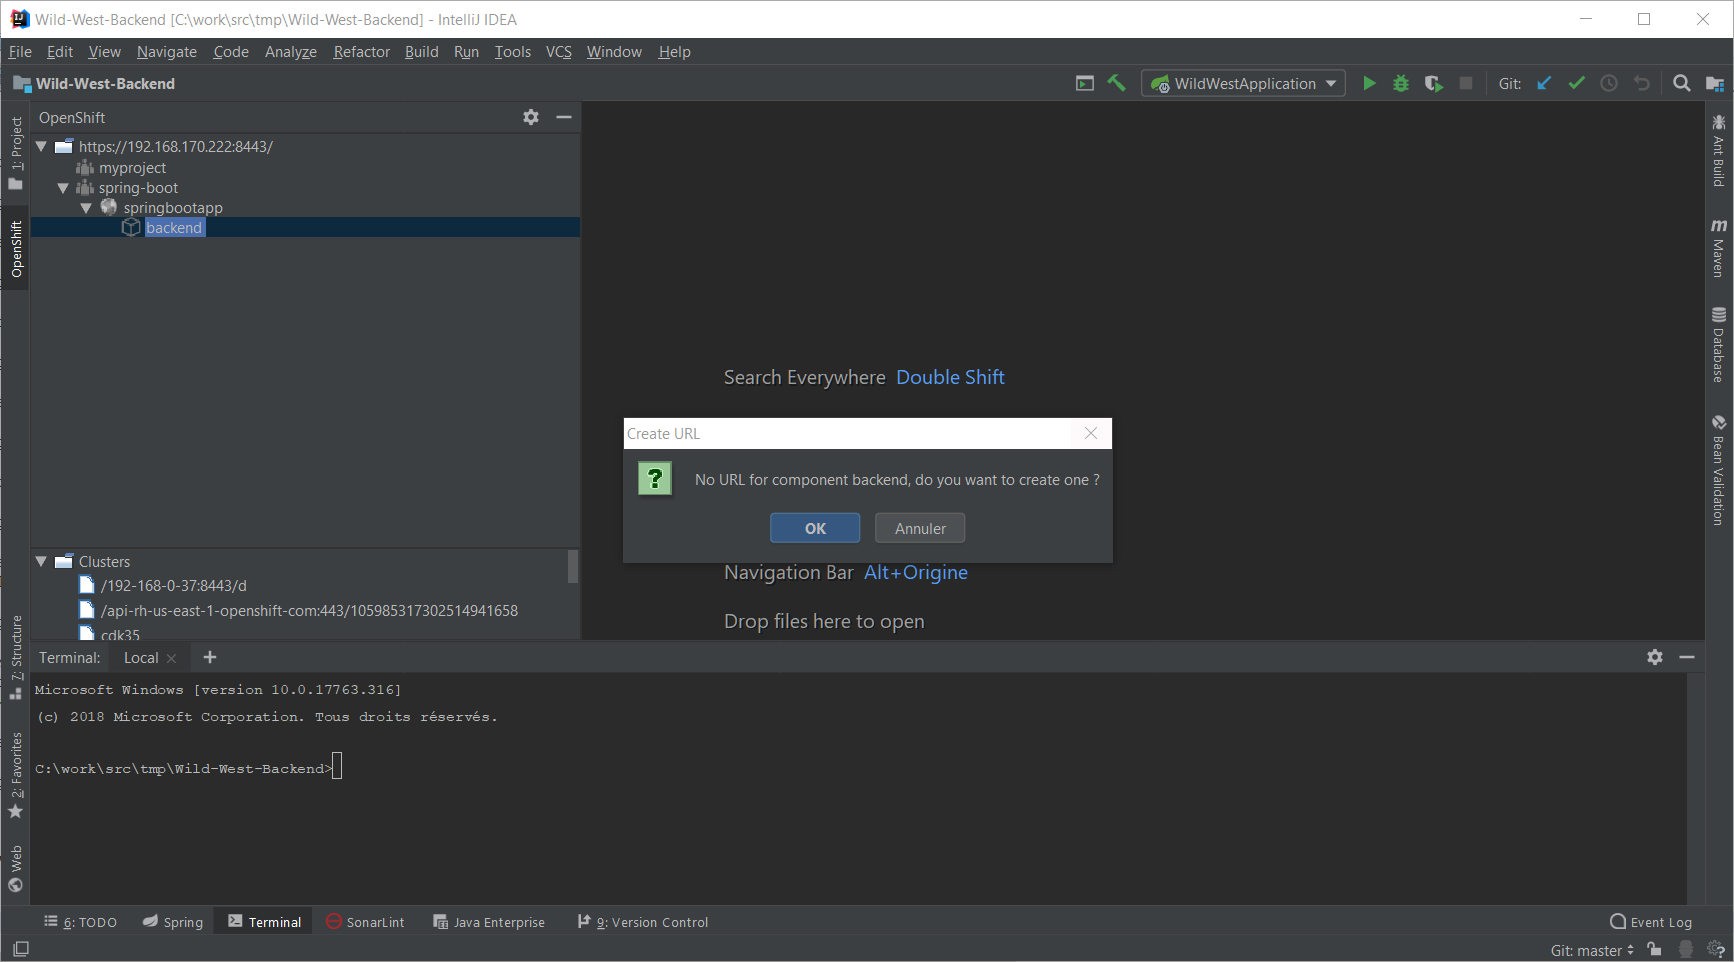
As no URL has been set up for our component (to allow external access to our application),
press the OK button:
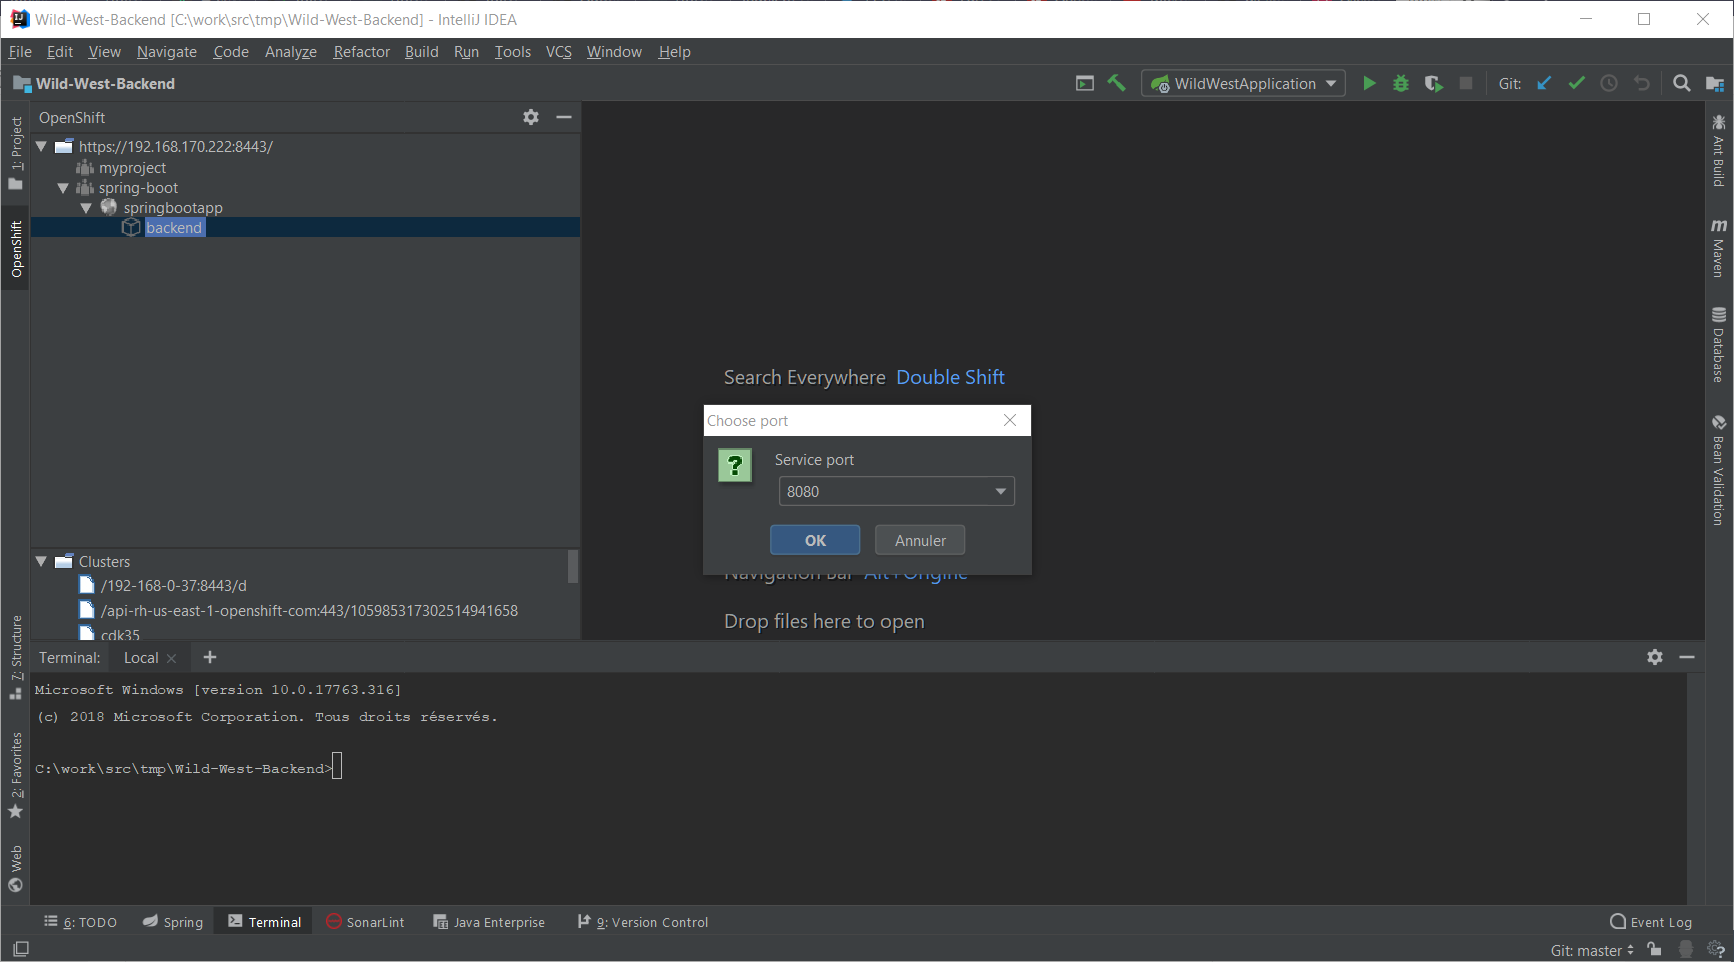
As our application is exposing several ports, we need to select one: choose the 8080 one
and press the OK button. The following brower window should be displayed:
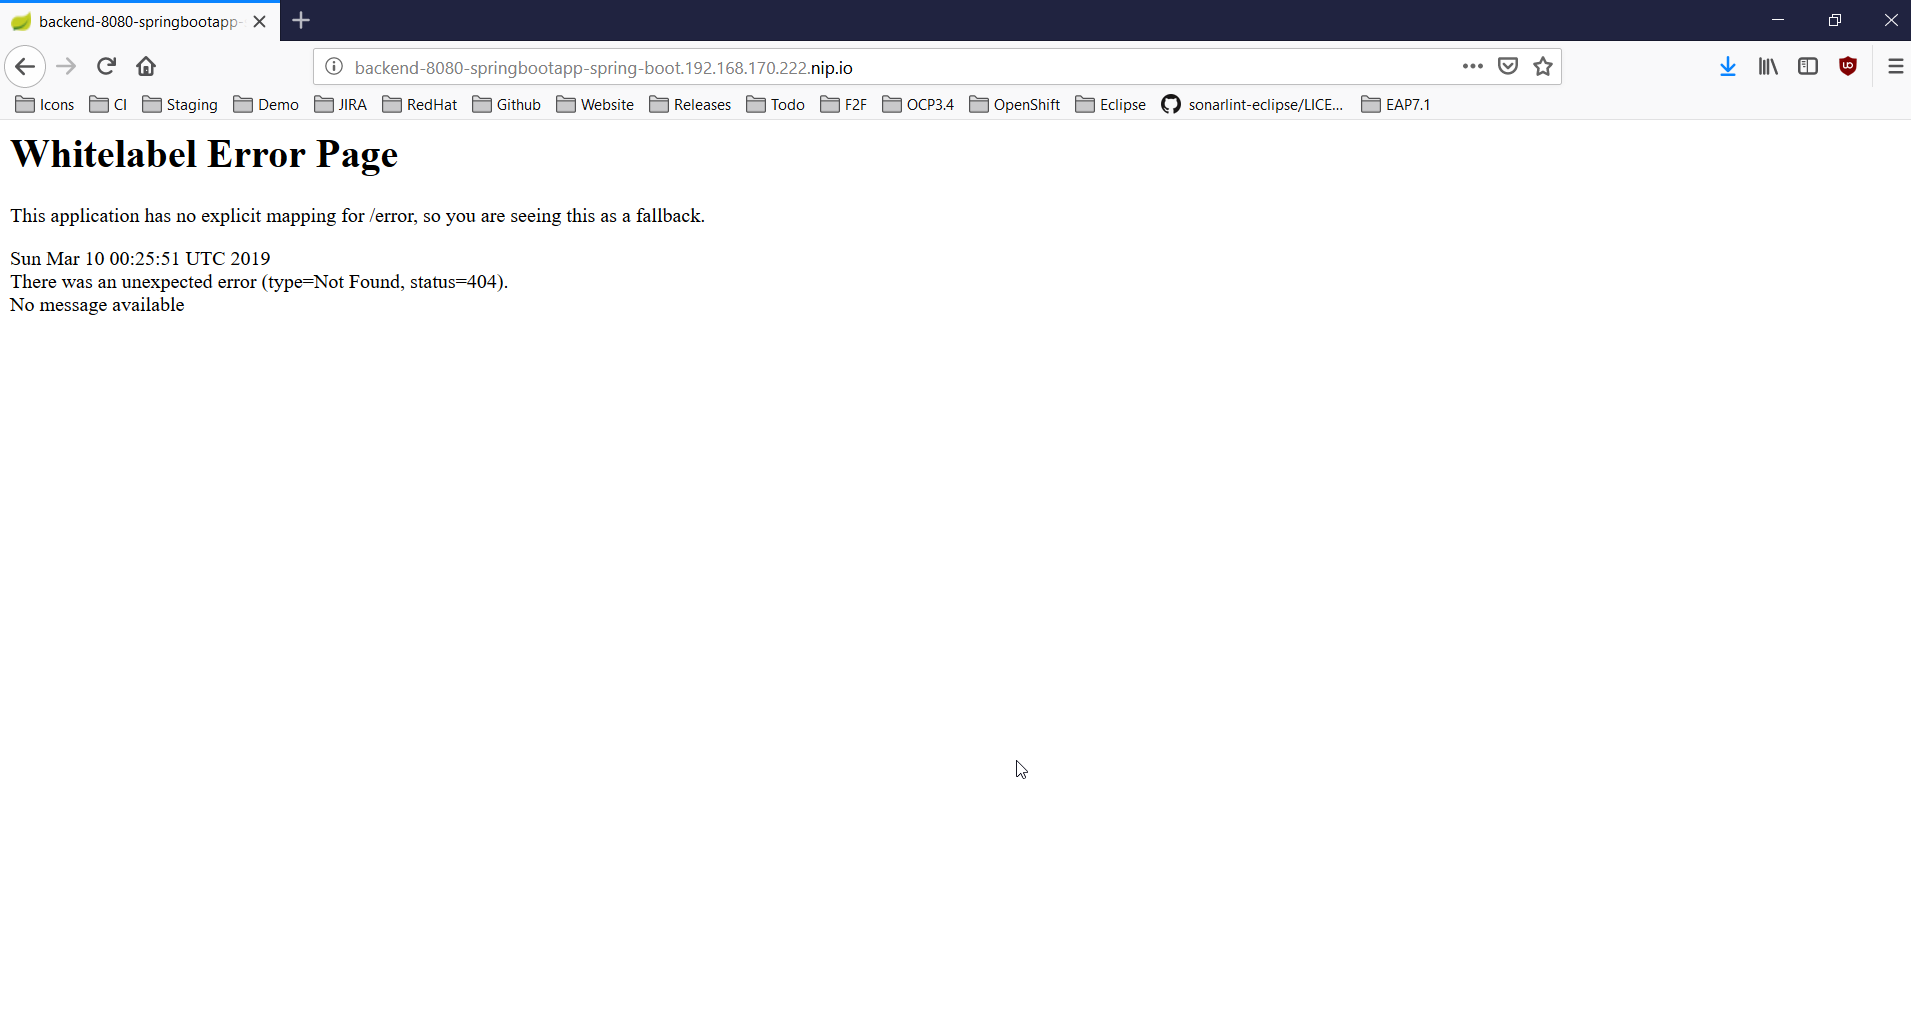
Don’t worry, the error message is displayed because our application has no mapping
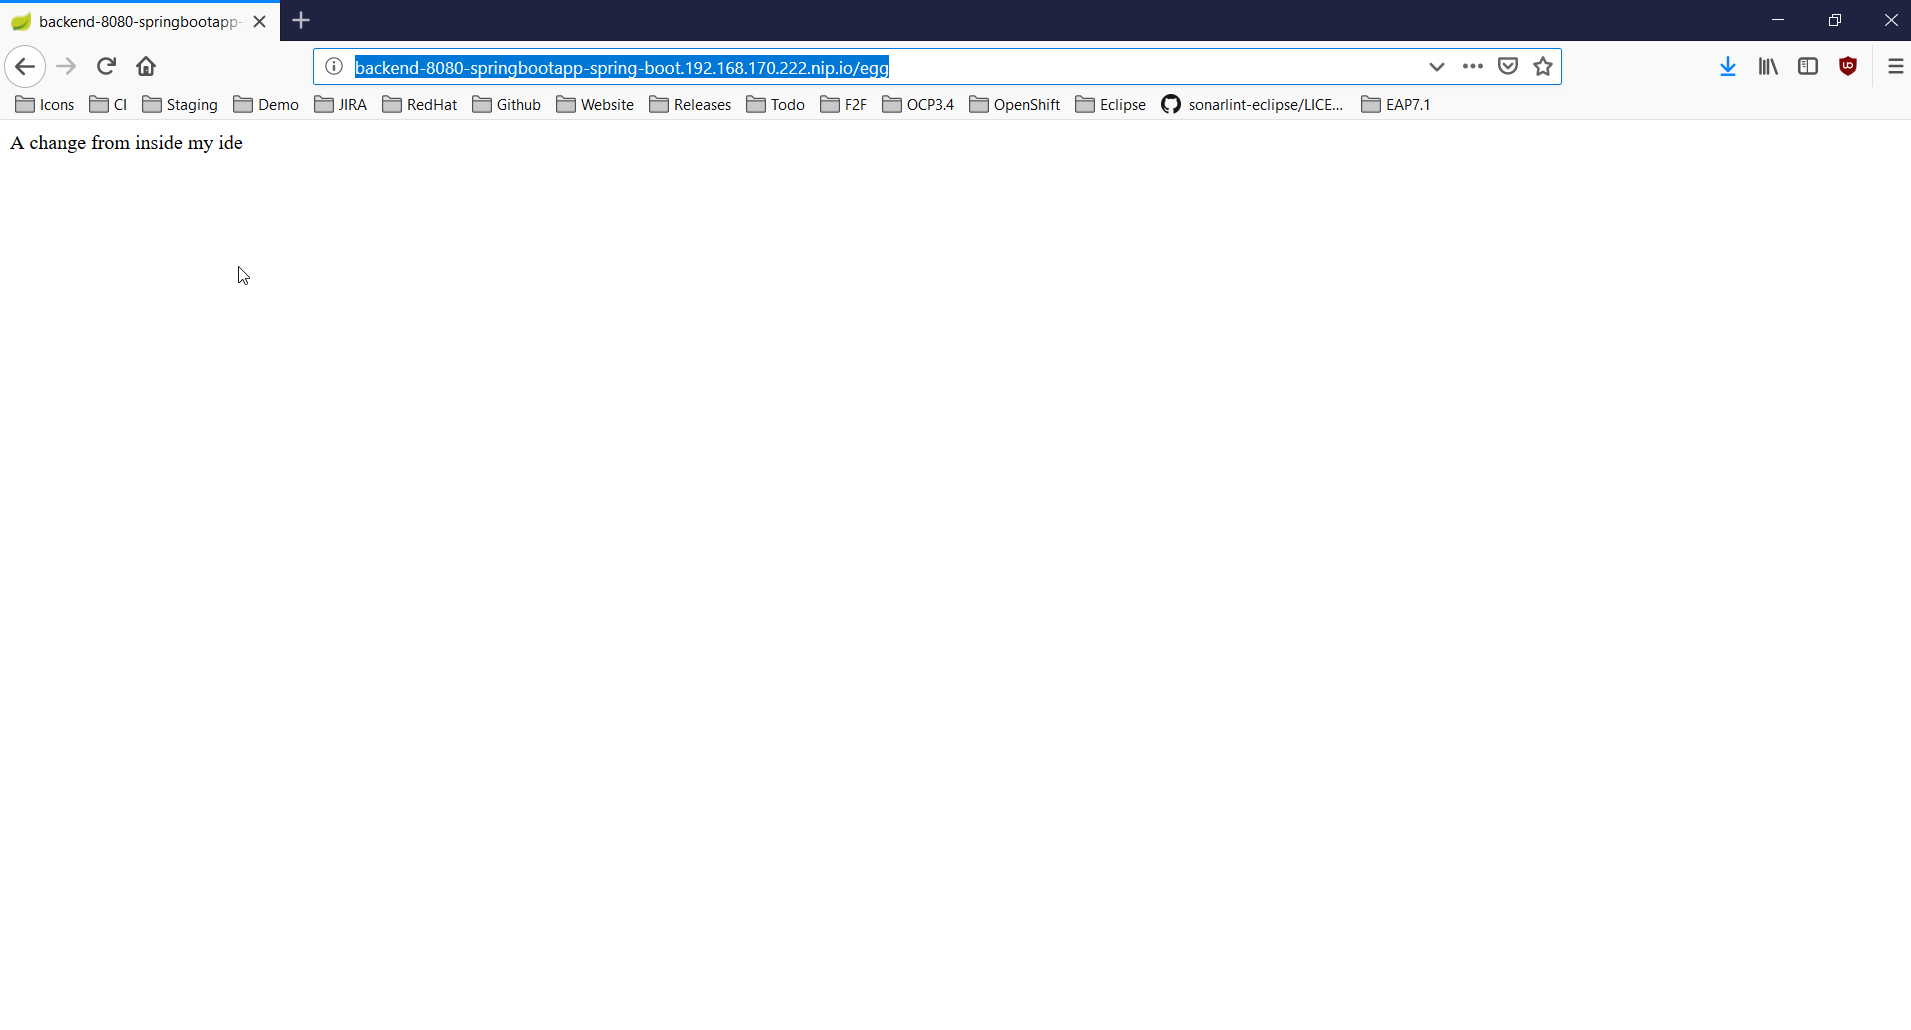
for the root. Append /egg in the URL bar in the browser window and press the
ENTER key:

Inner loop
In the following scenario, we will modify locally the application source code and
verify that the modification is broadcasted immediatly to the cluster.
Let’s switch our application in watch mode so that every local modification is sent
to the cluster:
In the OpenShift view, right click the backend node and select Watch:
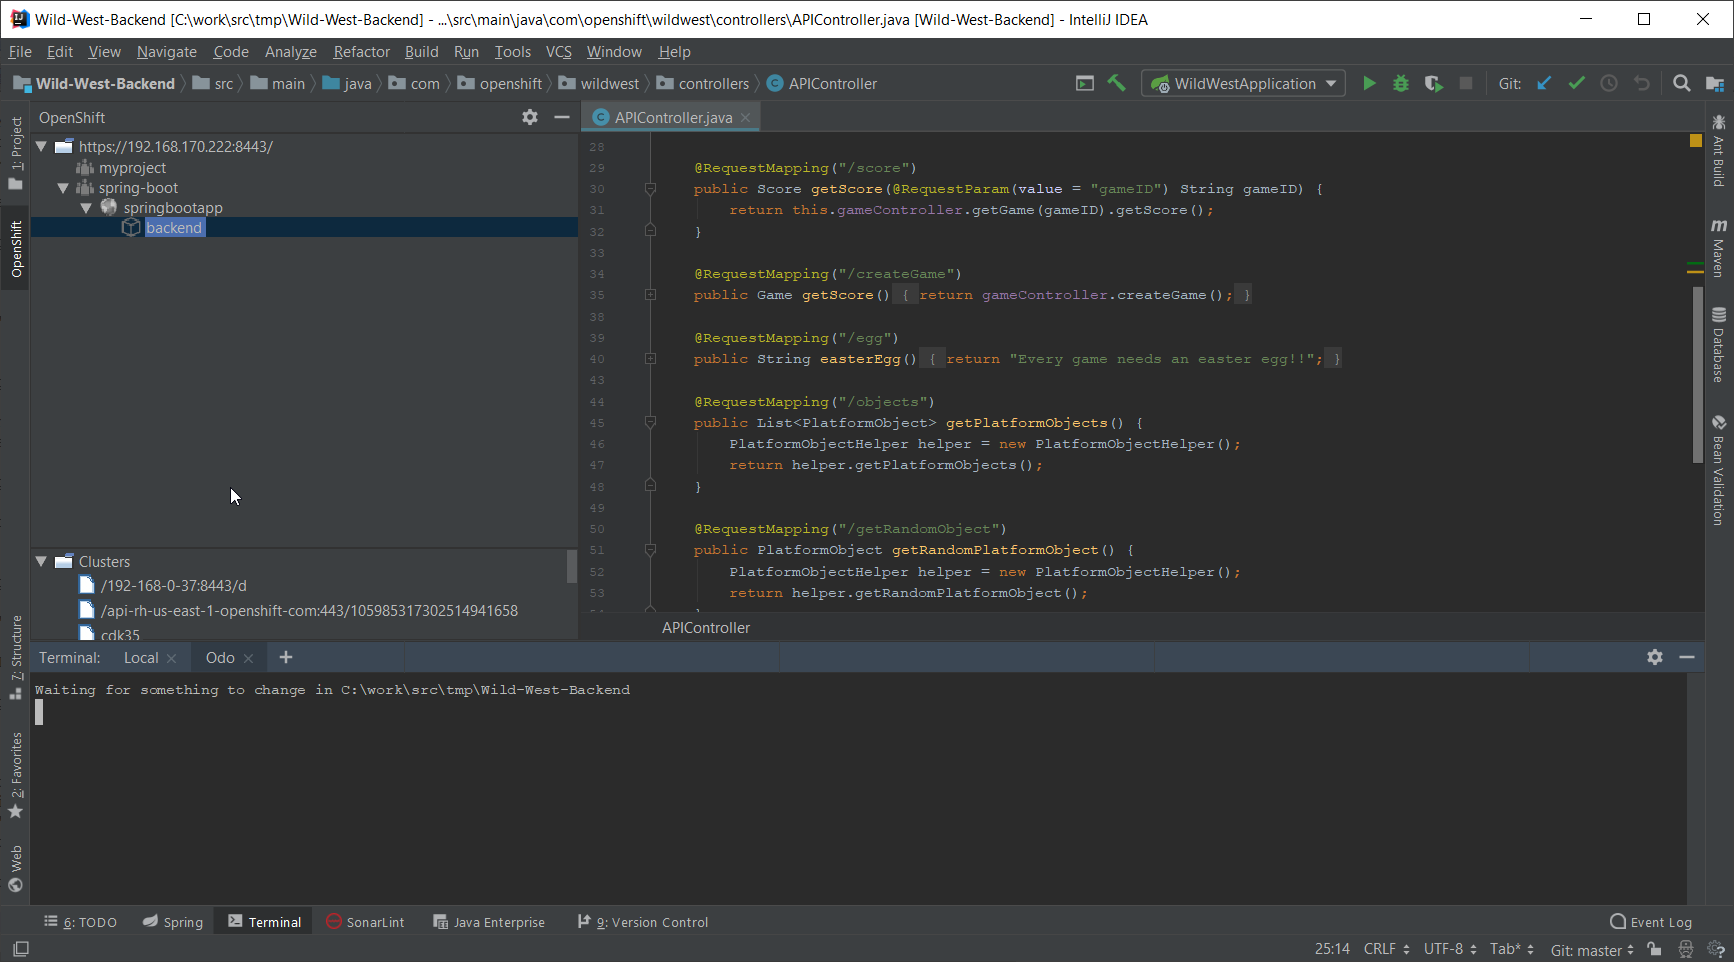
Now, in the Project view, open the src/main/java/com/openshift/wildwest/APIController.java file:
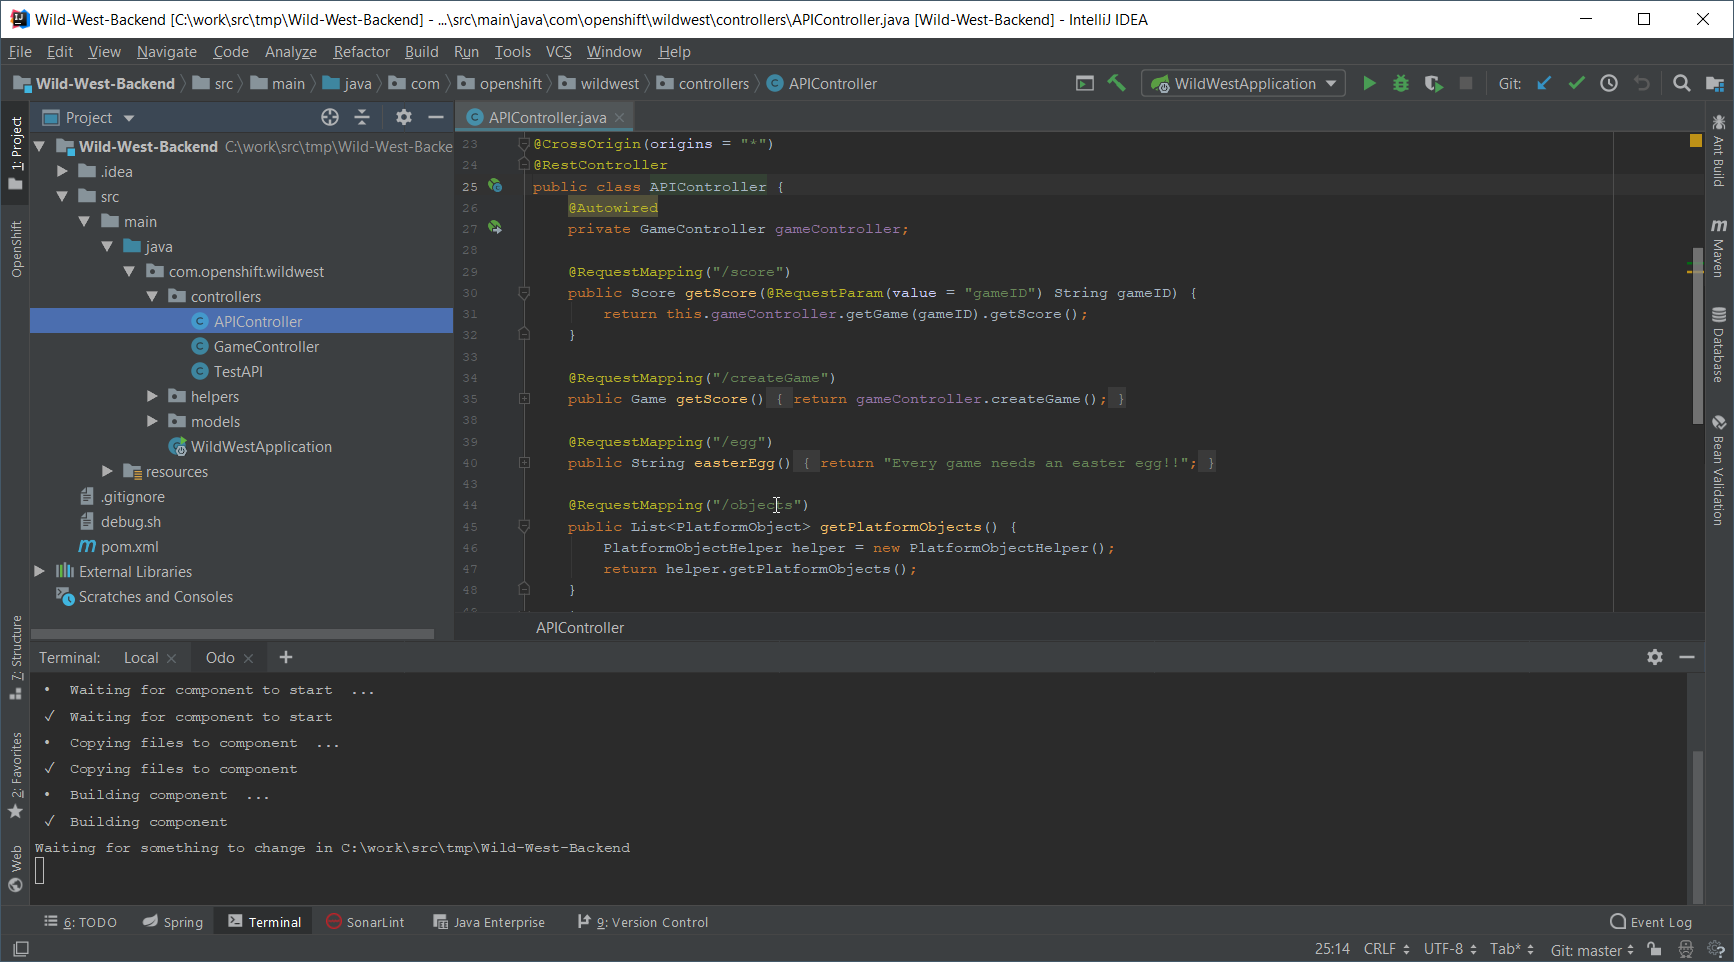
Modify the egg method:
	@RequestMapping("/egg")
	public String easterEgg() {
		return "Every game needs an easter egg!!";
	}
with the following content:
	@RequestMapping("/egg")
	public String easterEgg() {
		return "A change from inside my ide";
	}
Refresh the browser window and you should see the following output:
Enjoy!
Jeff Maury